For a few years, I’ve been looking for a good whole wheat bread recipe that doesn’t take forever to make. Every recipe need hours for the bread to rise, often 24 hours! OR it wasn’t truly whole wheat but half whole and half regular, or it had oil and other ingredients. But I kept searching for a quick and hearty whole wheat bread.
When I found this recipe on Pinterest, I knew I had to try it. This is simply whole wheat flour, water, yeast, maple syrup and salt. This bread has the added advantage of being vegan.
This post contains affiliate links from which I can earn a commision, at no cost to you. Visit my full disclosure page here.

The Early Attempts
My first experience was so much fun! My daughter, Andie, and I video chatted while we both made the recipe! We each struggled with the process in small ways, but ended up with a beautiful loaf of bread. The problem was, it was so dense and heavy that one thick slice sat in my stomach like a rock. After that initial experience, I cut the bread thinner and I only ate one slice at a time.
The second time I made whole wheat bread, I weighed the flour. It was such a big difference in flour (over half a cup) that I split the difference. The bread rose a bit more and tasted better, but was still a bit heavy. I loved the bread toasted with butter or pb & j. It was nutty and delicious.

On my third attempt, I measured the flour precisely. Because the previous loaves didn’t seem to rise much, I went back to the original recipe. I didn’t know there were different size packets of yeast! The recipe called for an 11 gram packet and mine was only 7 grams! No wonder the dough didn’t rise enough! So, I decided to use 1-1/2 packets which would make 10.5 grams. The bread really rose!
Because I felt the top crust was too hard, I tried something different making my fourth loaf. This time, I also added a pan of water to the lower shelf in the oven to create a more humid baking atmosphere. I learned this trick when I was making artisan round loaf bread. It was delicious, but since it’s not whole wheat it couldn’t be my everyday bread. (Not if I’m going to continue on my health journey! Read How I Lost 25 Pounds.)
The added water helped. The crust wasn’t quite as hard. It was still tricky to slice and it crumbled a bit. The crumbles were might tasty though! I will continue to make this bread regularly!

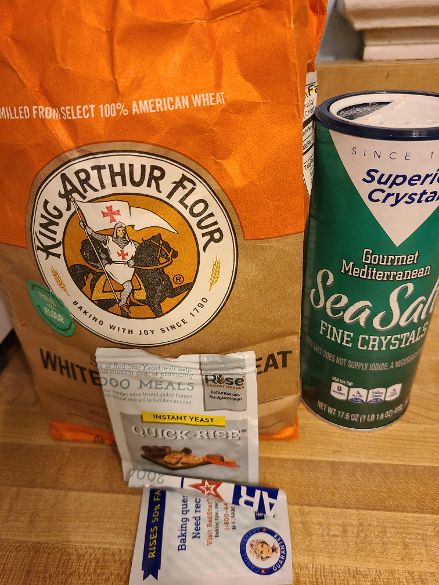
What you Need to Make Quick & Hearty Whole Wheat Bread
Ingredients
- 520 grams White Whole Wheat Flour, approximately 3 1/2 to 4 cups
- 2 cups filtered water, very warm to slightly hot
- 1 T. Instant Yeast or 1-1/2 7 gram packets
- 2 t. Maple Syrup
- 1/2 t. salt
- Oil to grease pan

Equipment
- Large bowl
- Spatula or wooden spoon
- Two cup liquid measure
- Tablespoon
- Teaspoon
- Half teaspoon
- An Instant Read Therometer takes the guess work out of whether your water is the right temperature.
- A Food Scale helps you use just the right amount of flour.
- 9×5 loaf pan
- Second pan for water in the overn (optional)
How to Make Quick & Hearty Whole Wheat Bread
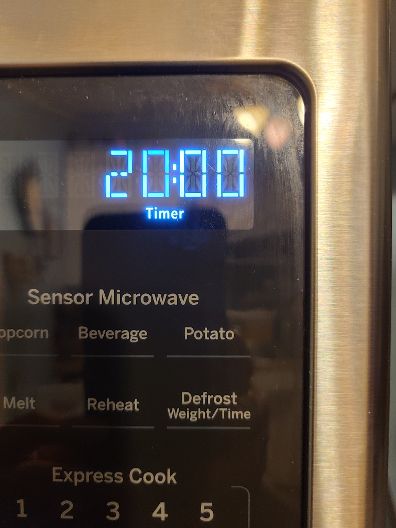
After gathering all your ingredients and supplies, prepare your 2 cups of very warm water. You can heat it on the stove or in the microwave. I don’t recommend using hot tap water since running hot water through your filter will ruin it. The water should be about 110 degrees F. or very warm but not so hot you can’t hold your finger in it. It took about 2 minutes in my microwave.
Have you tried my Pumpkin Hummus recipe? Or one of the ideas in Infinite Possibilities of Pesto? I need to try both on this bread!
Proofing and Mixing
Add the maple syrup to the water. This not only adds a touch of natural sweetness to the bread, it also feeds the yeast so your bread will rise better.

Add the instant yeast to the water and stir gently. Set aside to proof for 5 minutes. Proofing actually proves that your yeast is alive and working. It will foam up and look creamy on top.
White whole wheat flour, salt & instant yeast 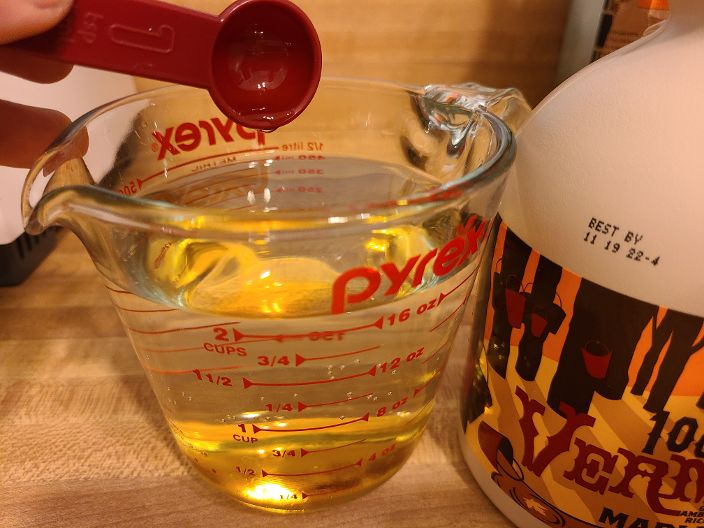
Add maple syrup to water 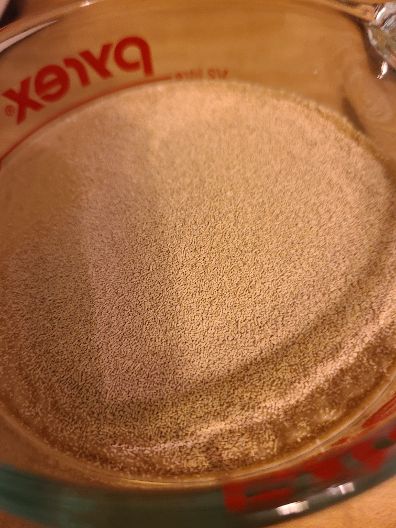
Yeast granules before mixing 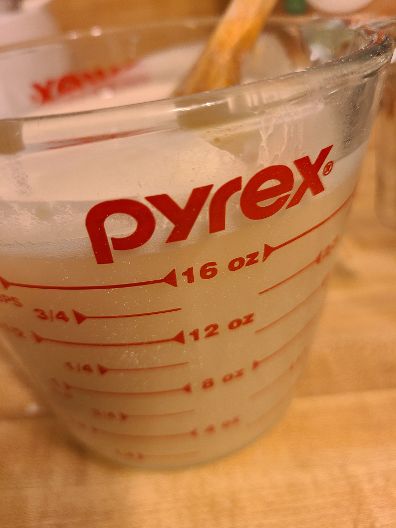
Yeast is already growing 
Proof yeast is working
While the yeast is proofing, get your flour ready. To weigh it, set your bowl on the scale and push the Tare button. This resets the scale to zero so you’re only weighing the flour and not the bowl. Put about 3-1/2 cups of flour in the bowl then add or subract until you have 520 grams.
I’ve found weight tables online that show 520 grams could be more than 4 cups! I initially thought humidity could affect the weight. But it looks like it may simply be how you fill the cup. Gently spooning the flour in versus digging the cup down into the flour makes a huge difference. So, yes, I guess I was practicing the quick, but perhaps less accurate method! If you don’t have a scale, dig in for 3-1/2 cups or gently spoon 4 cups.

Add the salt to the flour, then add the liquid ingredients. Stir gently until fully combined. You don’t need to knead this bread! Perhaps I buried the lede, but I think kneading is fun.
Scrape your dough out of the bowl into a greased 9×5 loaf pan. The top of the loaf will be very rough looking. I took a wet wooden spoon and smoothed the surface.
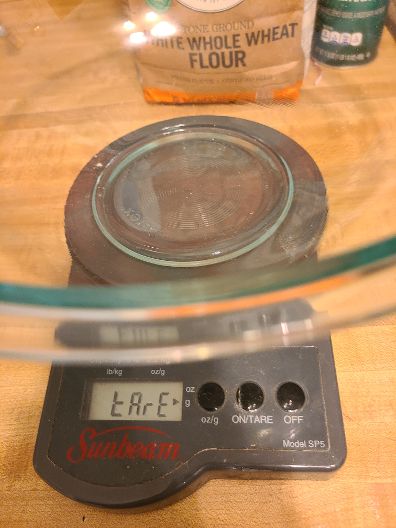
Tare your scale 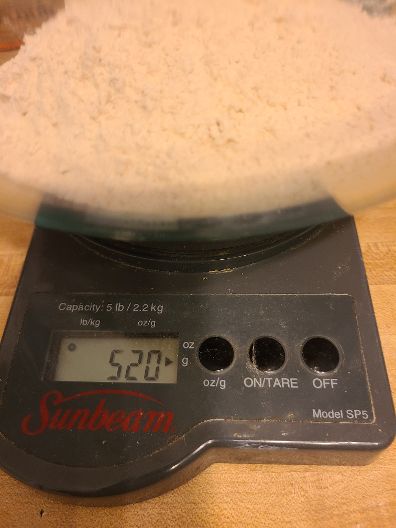
Weigh flour: 520 grams 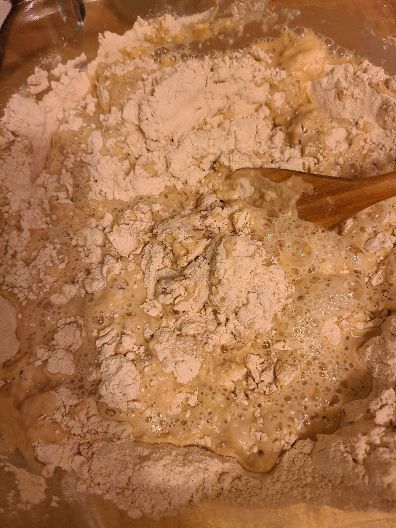
Mix liquids into flour and salt 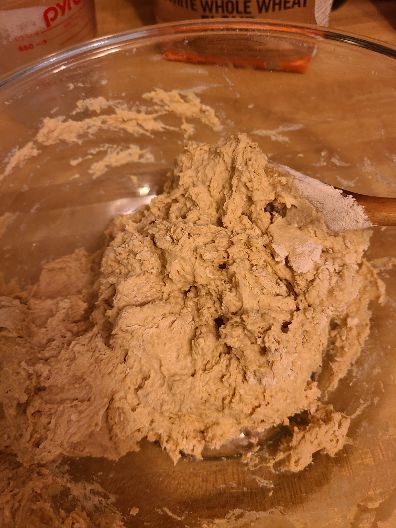
(Almost) fully mixed 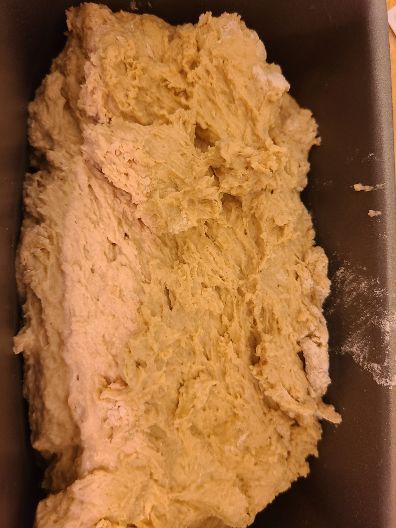
Scrape dough into greased pan 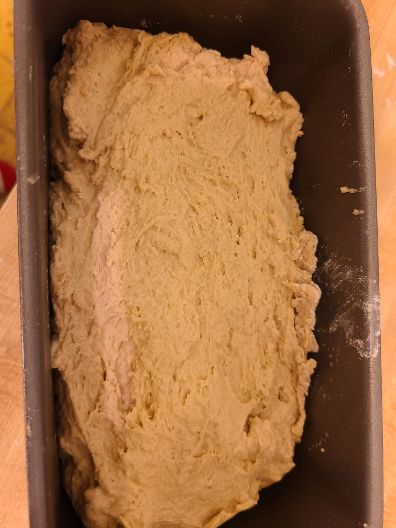
Smoother dough

Rising Dough and Baking Bread
Now it’s time to let your dough rise. If you keep your house cool in winter, like I do, here’s a tip to help your dough rise. Preheat the oven to 390 degrees and set the pan on top of the oven. If you feel it hasn’t risen enough after 20 minutes, you can give it 5 more minutes.
Let dough rise 20 minutes 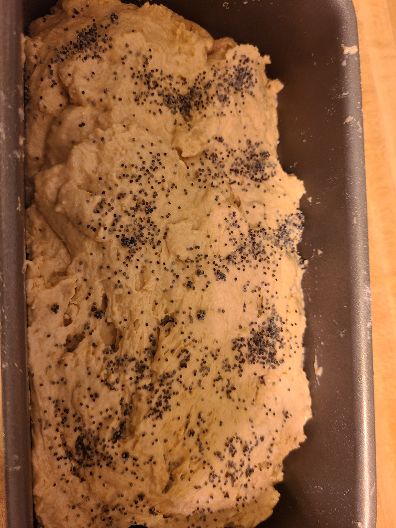
Top your bread with seeds or rolled oats! 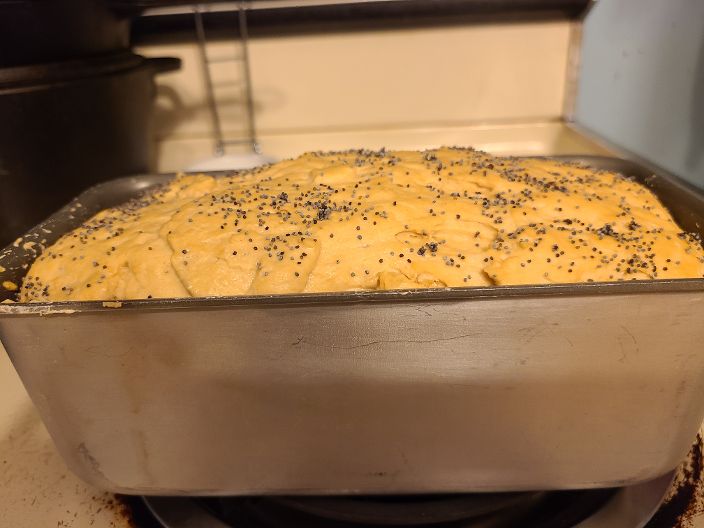
Dough has risen
Bake in the oven for 35 to 40 minutes. I actually turned the oven off at 35 minutes, but left the bread in for the remaining 5 minutes.

If you want a softer crust, like I did, put a second pan in the oven on a lower shelf with a cup of water. The steam helps keep the crust softer for slicing.
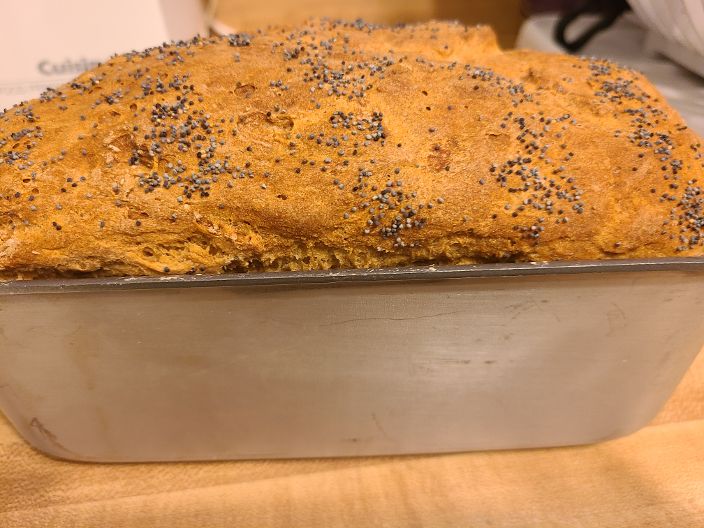
Whole wheat bread in less than 90 minutes! 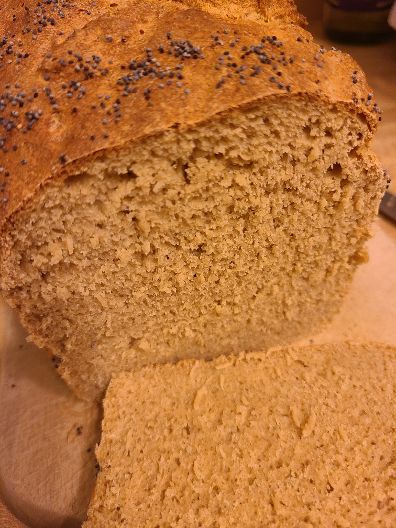
Ready to enjoy!
Slicing Your Bread
Why would you need instructions on slicing bread?
Well, the number of internet articles I found about how to slice bread make it clear that it’s not as simple as it seems. If you don’t have a bread knife, look for any serrated knife. You’ll want to use a sawing motion to slice neatly. It’s trickier with this whole wheat bread because it’s a bit crumbly. So if you want to just grab a handful and literally break bread, have at it!

Otherwise, hold onto the piece of bread you’re slicing so it doesn’t fall over and break. I tried slicing the bread on its side, but that didn’t provide any advantage. Whenever I make bread, I slice the entire loaf so I can freeze it and only pull out a slice at a time.
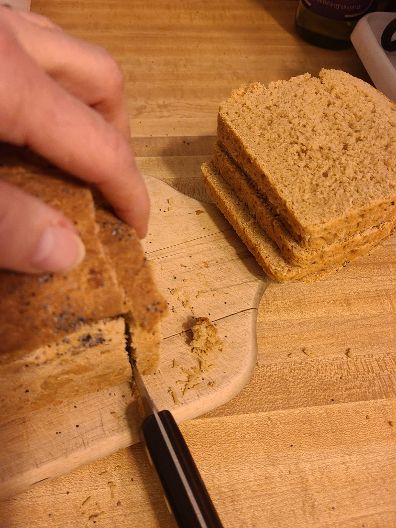
Hold bread gently but firmly while slicing 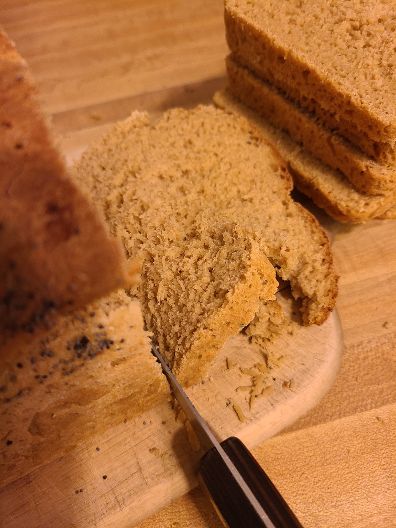
Bread slice flops and breaks 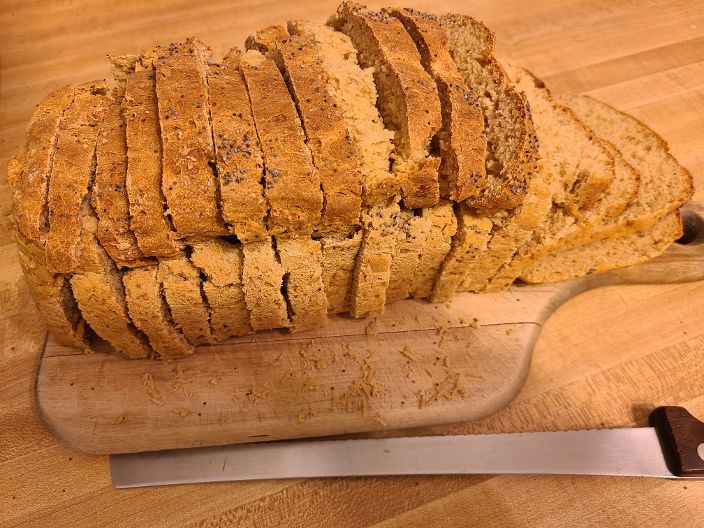
All sliced with minimal damage. That missing crust went right in my mouth – yum!

Quick & Hearty Whole Wheat Bread Recipe
Quick & Hearty Whole Wheat Bread
You can make Quick & Hearty Whole Wheat Bread in less than 90 minutes.
Ingredients
- 520 grams White Whole Wheat flour or approximately 3- 1/2 to 4 cups
- 2 cups filtered water
- 11 grams Instant Yeast (or about 1-1/2 7 g. packets or 1 Tablespoon)
- 2 teaspoons Maple Syrup
- 1/2 teaspoon Salt
Instructions
- Measure 2 cups filtered water. If you don't have filtered water, you should ideally let the water sit overnight before using.
- Heat water to about 120 degrees. You can heat it in the microwave or boil water and mix with cold to get to the right temperature. It took about 2 minutes in my microwave. If you don't have an instant read thermometer, the water should feel a bit hot, but not so much you need to remove your finger.
- Add maple syrup to water and stir.
- Add yeast to water and stir. Let sit 5 minutes to proof.
- While yeast is proofing, Place your bowl on your scale and push Tare to set it to zero.
- Add approximately 3-1/2 cups white whole wheat flour to the bowl. Add or remove flour until you have 520 grams.
- Add salt to flour.
- Check that yeast has proofed.
- Add liquids to flour and salt and mix until well combined. There is no need to knead.
- Scrape dough into greased 9X5 pan.
- Moisten your mixing spoon and gently smooth out the top of the dough.
- Preheat your oven to 390 degrees.
- Place the pan of dough on your stove to help the dough rise. Let rise for 20 minutes. If you think it hasn't risen much, give it 5 more minutes.
- Bake for 35 to 40 minutes. I turned the oven off at 35 minutes but left bread in for 5 more.
- For a softer crust, place a second baking pan on the lowest rack of the oven with a cup of water in it to create steam. (Optional)
- If you want to slice the entire loaf at once, let the bread cool completely first. It will cool faster if removed from the pan.
- Enjoy as is or toasted!
- Freeze any leftovers within a couple days.
Notes
You'll have best results using fresh flour and fresh yeast.
Nutrition Information:
Yield:
16Serving Size:
1Amount Per Serving: Calories: 115Total Fat: 1gSaturated Fat: 0gTrans Fat: 0gUnsaturated Fat: 1gCholesterol: 0mgSodium: 68mgCarbohydrates: 24gFiber: 4gSugar: 1gProtein: 5g
Nutrition information may not be precise.
What are your experiences with making bread? Please share in the comments section!
If you’re interested in living sustainably, please subscribe to my newsletter for tips and stories about gardening, saving money and treading lightly on the Earth.

