I finally jumped in and tried canning my garden produce for the very first time! I learned so much and want to share the salsa canning step by step. But first, the story!
This post contains affiliate links. If you click through a link I may get a small commision at no expense to you. Read my disclosure policy here.
Decisions, decisions
Initially, I planned to try pressure canning, but I honestly chickened out. A friend gave me an old pressure canner. I tested it out as directed and it didn’t build pressure the way it was supposed to. I think it just needs a new gasket. But I was nervous enought about doing it, nevertheless starting with something that needed a repair.
Water bath canning has been around for over 200 years, far longer than pressure canning. It can only be used for acidic food like tomatoes, or foods that have been acidified with citric acid, lemon or vinegar. For putting up green beans or chicken broth, a pressure canner is essential.
Thinking of canning? Don’t miss my free printable with salsa canning step by step instructions so you can stay on task when canning!
Canning is part of my plan to not just grow my own food, but preserve it and have if for the winter. I want to be more self-reliant. But I especially want food that I know has not been coated in pesticides as I’ve shared in Food Choices for the Environment and How I Lost 25 Pounds.
This year, I planted several times the tomatoes I’ve grown in the past. I was determined to have enough food to put up.
By the time I had enough ripe tomatoes to process (about 4 1/2 pounds), I’d decided to start my home preservation jouney with a salsa recipe tested and approved for canning, The same friend with the pressure cooker had given me a jar of her salsa and I was seriously impressed. She told me it was Annie’s Salsa recipe online and I hoped I could find it.
It turns out that Annie’s Salsa Recipe is all over the internet. Many bloggers and magazines have shared it before and I’m sharing it too. It’s a big deal that the woman who came up with the recipe had it tested and approved by her State extension office as safe for water bath canning. Read the story of how Annie created this recipe.

Being Prepared
One of the most important lessons I’ve learned through my research is that you can’t safely can just any recipe. If the pH is not acidic enough or if the food is too thick, water bath processing won’t kill all the bacteria and you’ll be left with a serious health hazard on your shelf.
Equally important is to do research in books, magazines, online or on youtube so you are comfortable with what you’re doing. One website (even mine! I’m a newbie canner too!) will not give you all the information you need. Here are the best places to start: National Center for Home Food Preservation and Ball’s Fresh Preserving site.

Gathering Supplies
Last week, I got out my huge soup stock pot and all the canning supplies I’ve been keeping in storage. Sadly, the canning rack didn’t quite fit inside the stock pot. I know some people put extra jar rings on the bottom of the pot to balance the jars on, so I gathered those too.
Chopped Tomatoes 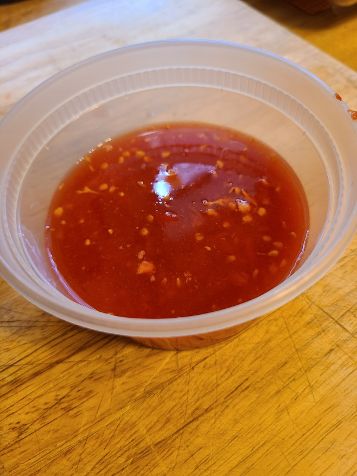
Reserved juices drained from tomatoes 
A jar lifter makes moving jars in and out of the boiling water bath much easier
For safe canning, the only jars you should use are traditional Ball or Mason jars with lid rings and brand new lids. You can reuse jars and lid rings that are in good condition.
Salsa Canning Step by Step
Though I wanted to make this salsa entirely from my garden produce, that just wasn’t possible. My bell pepper plants were too shaded by all my tomato plants and just didn’t produce. Most of the onions and garlic I harvested were on the small side. Since making the recipe and canning it for the very first time would be a big job, I decided it would be easier to use large onions and garlic from the store. And the recipe included tomato paste from a can anyway. But the tomatoes, cilantro and jalapenos were all mine!
I wish I’d known this trick to hold onto your ripe tomatoes until you’re ready to process. My favorite YouTuber, Jess Sowards of Roots and Refuge Farm uses the “core and score” method to freeze tomatoes until she’s ready to can. You simply take out the stem core, then slice an X on the bottom of the tomato. So you can gather ripe tomatoes in the freezer until you have enough to work with. When you defrost the tomatoes, the skins will slide right off. As an extra benefit, this means you won’t have to scald and blanch the tomatoes the day you prepare them.
It wasn’t until after I finished canning that I realized I hadn’t used the chopstick I had set out on the counter. After you fill your jars, you’re supposed to use a chopstick or very thin spatula to push down the inside of the jar to remove any air bubbles. This step wasn’t included in the instructions I printed, though I’ve seen it in articles and videos.

Garden fresh cilantro 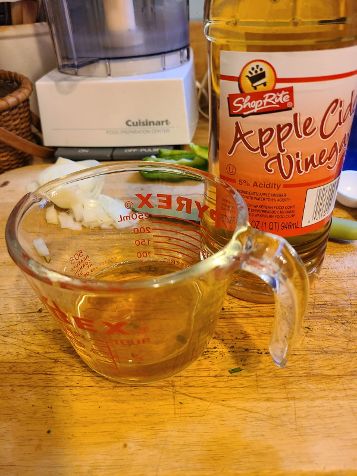
Apple Cider Vinegar 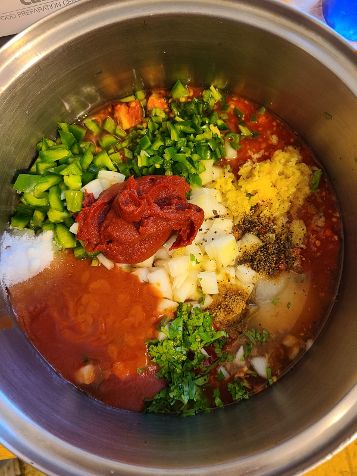
All the Ingredients for Annie’s Salsa
Since I didn’t core and score and freeze, I ended up with only 4 cups of chopped fresh tomatoes. It was disheartening to see how much volume they lost! I wasn’t going to let that stop me, so I halved the recipe. I knew that wouldn’t affect the pH or thickness of the salsa. I’d just have fewer jars to put on the shelf.

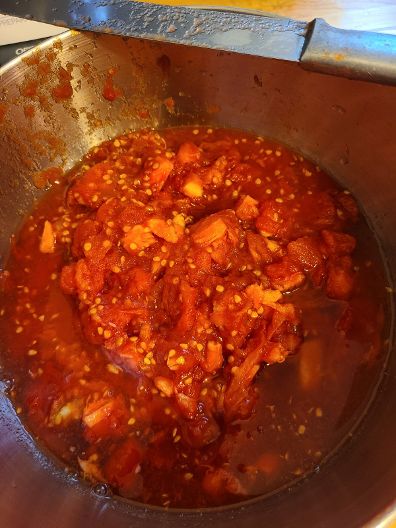
Well, the salsa is delicious!
The Canning Process
But I can’t claim the canning went well.
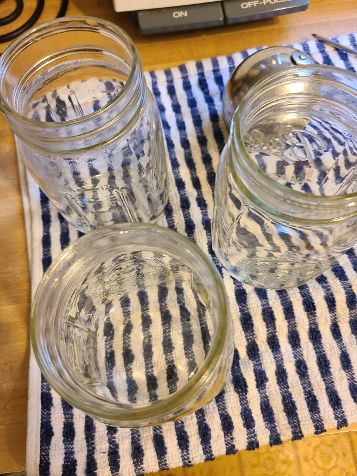
Sterlized jars go on a clean towel or cooling rack 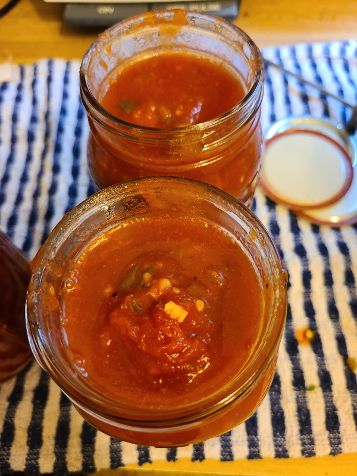
Salsa hot packed in jars with 1/2′ head space 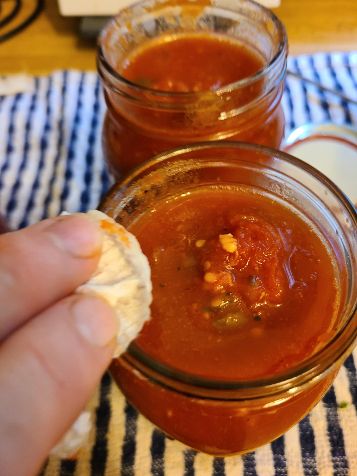
Cleaning jar rims helps make for a good seal
I had done my research in books, online, watching videos, etc. I had written out the recipe and printed instructions on water bath canning. But after all was said and done, I made a few mistakes! (I needed a salsa canning step by step!)
I double checked my instructions fromo the National Center for Home Food Preservation. When the processing time was over, I was supposed to leave the jars in the pot for five extra minutes after turning off the heat and removing the lid. But I was too excited. I pulled them right out when the timer went off.
The third problem I had was that one of my jars fell over inside the water bath. I was able to set it right, but all the instructions stress that jars should be kept upright. I know the solution to this is a better canning rack or enough lid rings to cover the entire bottom of the pot. I’ve searched several web sites and haven’t found any instructions on what to do if a jar falls over.
Ultimate Success
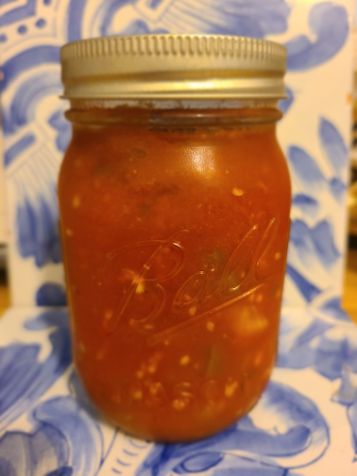
Little pings coming from the kitchen told me that the jars were sealing. It’s a very satisfying sound. An experienced canner may have been okay with any or all of these problems. But I’m not an experienced canner and I won’t take any risks with this salsa. Instead of putting the jars on the shelf, I put them in the refrigerator. That’s okay. We’ll probably finish up the four pints quickly, it’s so good! (I guess it’s a silver lining that I could only make half the recipe!)
The process was a bit stressful. I was trying to get the timing right between the salsa recipe and having all the canning paraphernalia and water bath ready.
Free Printable
I’ve created a new Free Printable of salsa canning step by step instructions that include more details I would have found helpful. This is not a Canning 101 instruction sheet and you should still read those before you try canning. But after doing your research, this Free Printable should help you set up your kitchen space and focus on the action of cooking and canning.
Download your Free Printable Salsa Canning Step by Step:
I will definitely try canning again. I’m a little sad that I don’t have enough garden produce now to do more canning. I think I’ll try to pick up a large amount of blueberries and make jam. I want to do it soon while all the learning from my research and from my mistakes is fresh.
Here’s Annie’s Salsa Recipe
Annie's Salsa Recipe for Canning
Annie's Salsa Recipe is becoming famous! You don't want to can just any salsa. Annie's Salsa Recipe is tested and approved. This recipe card shows her latest updates to this canning safe recipe.
Ingredients
- 8 c. tomatoes, chopped and drained
- 2.5 c. onions, chopped
- 1.5 c. bell peppers, chopped
- 6 to 8 jalapenos, chopped
- 6 cloves garlic, minced
- 2 t. cumin
- 2 t. ground black pepper
- 1/8 c. (2 T.) canning salt or fine grain sea salt
- 1/4 c. fresh cilantro, chopped
- 2/3 c. apple cider vinegar, 5% acidity
- 2 c. tomato sauce
- 1 c. tomatoe paste
- 1 T. to 1/4 c. sugar
Instructions
- Gather all ingredients. Be sure everything is chopped to 1/4" or less.
- You can use slicing tomatoes, plum tomatoes or a mix. You may need to drain the liquid off your chopped tomatoes. Reserve this juice! You may need to add some back in. (It's also great to freeze then add to soups, stews, sauces!)
- To remove skins easily, scald tomatoes in boiling water for 2 minutes, then place in an ice water bath for 1 minute. Skin practically slips off.
- Save those skins! You can dehydrate them to make tomato powder to add to soups, stews and more.
- You can make the following minor changes to the recipe. Change the spices as long as you keep the amount of combined spices the same as the recipe. Vary types of onions and peppers, but keep the amount of combined onions and peppers the same as the recipe. You can omit the sugar. You can reduce the tomato paste. Apple Cider Vinegar can be replaced with distilled white vinegar or you can use red wine vinegar, but that will make it sweeter.
- Place all ingredients in pot. Mix well.
- Bring to a boil, stirring occasionally.
- Your salsa should be fairly thick. Annie describes this as thicker than tomato juice but thinner than ketchup. If your salsa is too thin you can add more tomato paste or let it cook down a bit. If it's too thick, add back in some of the reserved tomato juices,
- Bring to a boil. Reduce heat, but continue boiling, covered, for 10 minutes.
- Hot pack salsa into properly prepared Ball or Mason jars and process for 15 minutes.
- Makes 6 to 8 pints.
- If you're at higher altitude than 1000 feet, visit https://www.motherearthnews.com/real-food/canning/annies-salsa-recipe-zbcz1609 for processing times.
Notes
Time for cannning is based on preheated canning water.
Nutrition Information:
Yield:
32Serving Size:
2 oz.Amount Per Serving: Calories: 21Total Fat: 0gSaturated Fat: 0gTrans Fat: 0gUnsaturated Fat: 0gCholesterol: 0mgSodium: 64mgCarbohydrates: 5gFiber: 1gSugar: 3gProtein: 1g
Nutrition information isn't always accurate.
If you enjoyed this article, please share it, and be sure to subscribe to my newsletter!

Great article for your readers, Kerry!