Winter sowing is a great way to scratch that mid-winter gardening itch! It’s too early to plant outside and a bit too soon to start indoor seed sowing. Winter sowing in DIY mini-greenhouses is the perfect solution.
This post contains affiliate links from which I can earn a commision, at no cost to you. Visit my full disclosure page here.
This is my 4th year winter sowing. Last year’s results were disappointing mostly due to the unusual weather, but I’ve had great success in previous years.

What is Winter Sowing?
Winter sowing is planting seeds in mini-greenhouses set outside. The idea behind winter sowing is to let the seeds germinate when the weather is right for them. They stay much warmer and protected from colder temperatures inside their little house.
When to Winter Sow
When should you winter sow? Well, in the winter! I love to set up my milk jug greenhouses in January. I often plant more in February and even March. I’m in zone 6b. (Find your plant hardiness zone here.) If you are in a warmer zone, you can start earlier, but in colder zones, you may want to wait a few more weeks. Hardy perennials can be started earlier with tender annuals being planted later.
What to Winter Sow
You can plant almost any seed with this method. In my experience, winter sowing is best for many types of flowers and herbs. Among vegetables, cold loving brassicas are a favorite with this method.
Root vegetables, like beets and radishes, don’t like their roots disturbed. But you can certainly give them a try. I’d suggest spacing them well and transplanting them as a block for the least disruption.

Winter sowing is not often done with tomatoes and peppers, though I’ve read a few cases. In the spirit of experimentation, I think I will do that this year so I can report back on my experience.
If you love gardening, see more on Container Gardening and Saving Water in the Garden.
How to Winter Sow
If you have all your materials on hand, you can sow a half or full dozen containers in an afternoon. It took about 2 hours to put these five together and I was doing all the pictures too!
You will need:
- Clear gallon jugs or other large, clear plastic containers with clear lids
- A knife and/or scissors
- Seed stater mix or potting soil
- Seeds
- Craft sticks or other plant markers
- Permanent markers
- Duct tape
Pick your containers
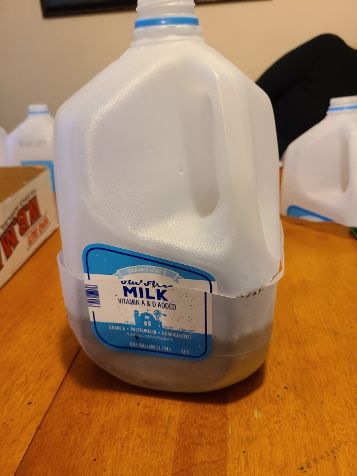
I always use clear gallon milk jugs. My husband’s love of milk makes that easy. You’ll find clear and opaque milk containers at the store. Only clear containers will work for winter sowing. You can also use 2 liter soda bottles or take out containers. Just be sure the containers, or at least the lids are clear. Pick containers that are deep enough for at least 3 inches of soil plus a few inches more room for plant growth.

If you decide to use soda bottles, cut the bottle about 5″ from the base. If you use a takeout food container that has a lid as big as the container, you’ll need to put holes in the top as well as the bottom of the container so rain can enter in.
Prepare your containers
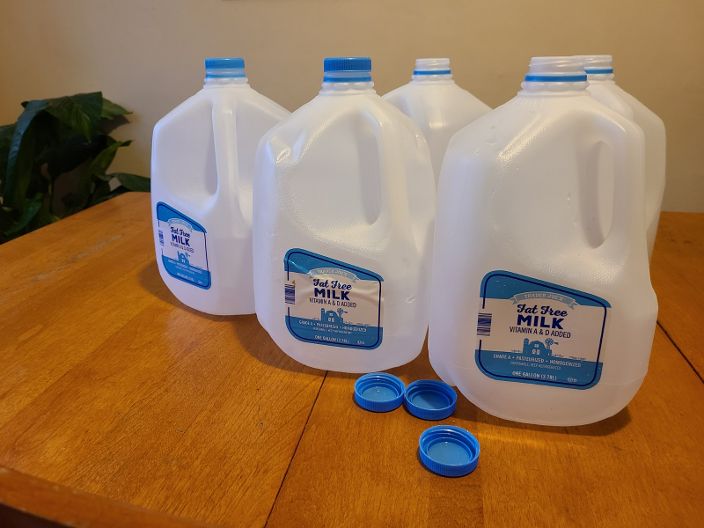
Gallon milk jugs, clean and empty 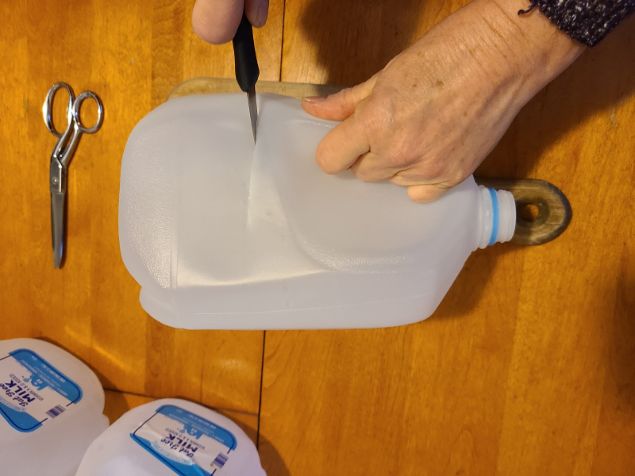
Start cutting with a sharp knife 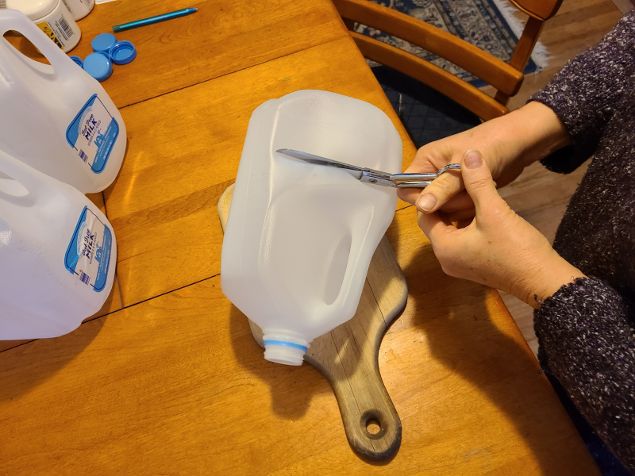
Cut jug in half with scissors or knife. Leave 2 inch hinge instead of cutting completely if you like 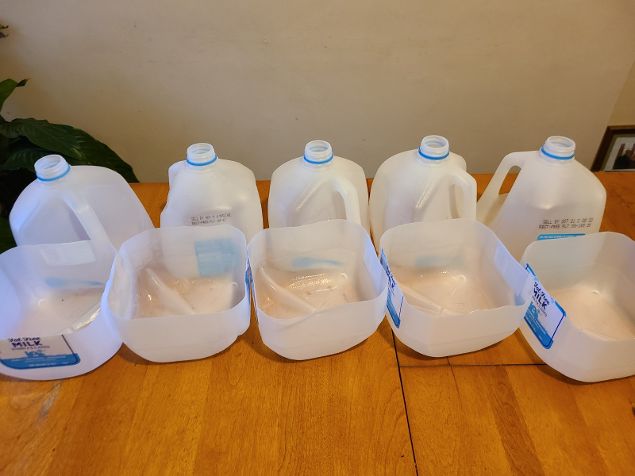
Gallon jugs, cut in half 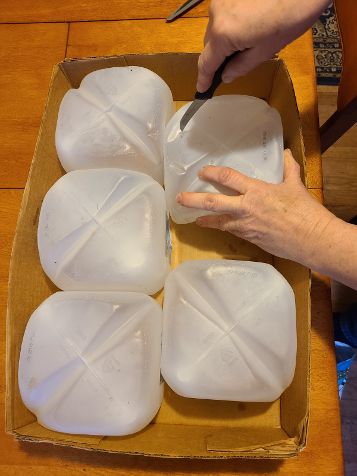
I use a sharp curved knife to slice into the plastic then twist to create a small opening 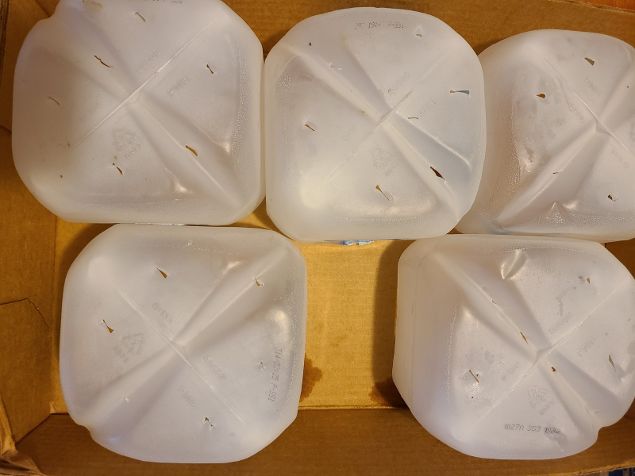
Drainage holes cut in each container
When using milk jugs, you’ll need to cut the jug just below the handle and remove the top. Many people cut all but an inch or two to create a hinge. This offers the advantage of keeping the lid attached to the base. The disadvantage is that it’s much more difficult to fill your container with soil. My time is limited, so I go with the quick and easy approach of completely removing the top of the jug.
It’s critically important to provide adequate drainage for your plants. You can accomplish this by poking 4 to 6 holes in the bottom of each container. Some people use a drill or a hot poker or knife. I find it’s quick and easy (notice a theme?!) to poke the container bottom with a knife then give it a twist to open the slit into a hole.
Save the lids of the milk jugs to put back on the jugs until seedlings emerge from the soil.
Add seed starting mix
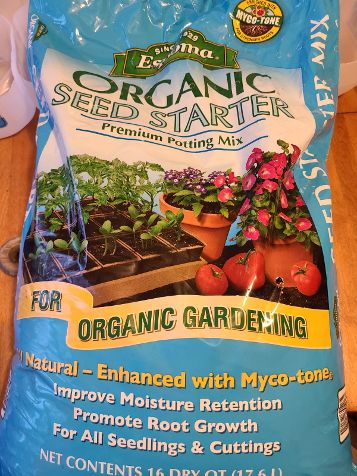
Organic seed starter mix 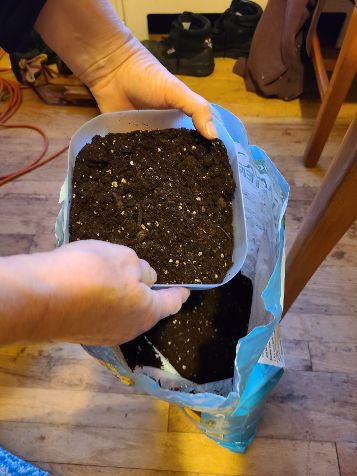
Fill the bottom of your container with 3 to 4 inches of soil 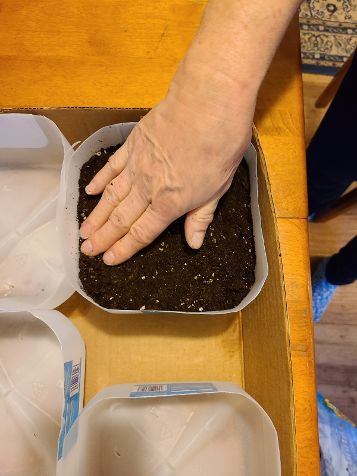
Gently press down on soil to even out
You can use any potting soil you have on hand. If you need to buy a new bag, consider a seed starting mix over regular potting soil. I like to use organic mixes for planting vegetables and edible flowers.
Fill the container with 3 to 4 inches of moist potting mix. If your bag is already open, you’ll need to mix in some water so the soil is damp and can be squeezed into a ball without dripping. You can dip the bottom of your container right into the bag to fill it. Use a trowel or large spoon to put the soil in the container. I just use my hands. Then gently pat the soil into place.
If you haven’t already watered your soil, you can give it a nice soaking drink now, but only if you’re working outside! Remember, you just put holes in the bottoms of the containers. Since I was working inside on a cold day, I decided to water when I was finished and put the containers outside.
Select Your Seeds
Winter Hardy Annuals or Perennials are great choices for winter sowing. Flowers do exceptionally well.
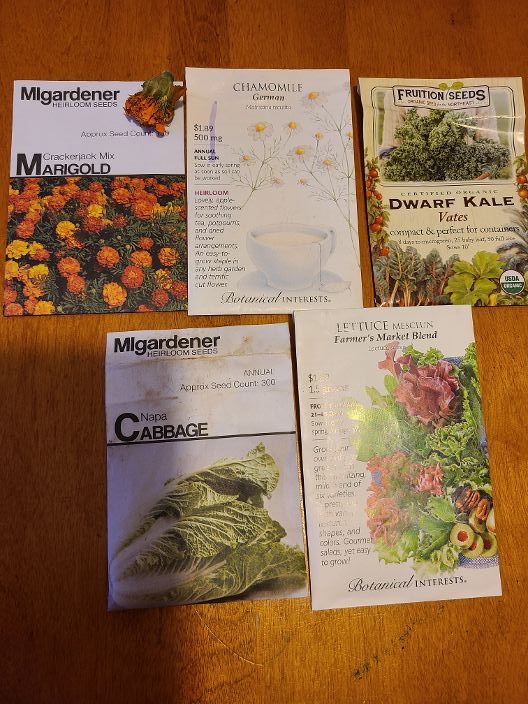
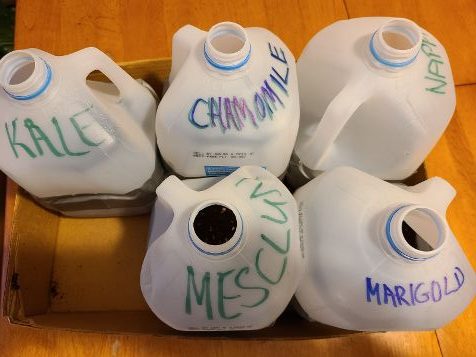
I decided to get marigolds going early again this year. Not only did they do beautifully last year when winter sown, but I’m using the dehydrated petals in our chicken treats! Because I want more of the bright orange marigolds, I used a flower I dried for seed saving, as shown on top of the marigold seed packet in the photo above .

Chamomile didn’t do well for me last year, but I had a so many thrive in 2019 that I’m planting them again. I harvest and dry the chamomile flowers. It takes a large quantity of dried flowers to make a cup of tea, so I need more!
Dwarf Kale is a brassica, which means it’s in the same family as cabbage, cauliflower and broccoli. It’s cold hardy so I wanted to give it a jump on the season.
I have several traditional cabbage plants growing in a cold frame now. However, only one of my Napa Cabbage has survived. Since I make a lot of Asian stir fry dishes, I’d like to have more Napa than green cabbage this year.
Finally, (and it’s only final until I have a few more milk jugs!) I decided to try a mesclun lettuce mix. Since lettuce is more tender than the other plants, I’ll definitely plant more in the coming months. I only have so much lettuce in my cold frames and I miss my garden fresh salads!

Plant!
Seed size determines depth. Just 1/4″ for kale seeds 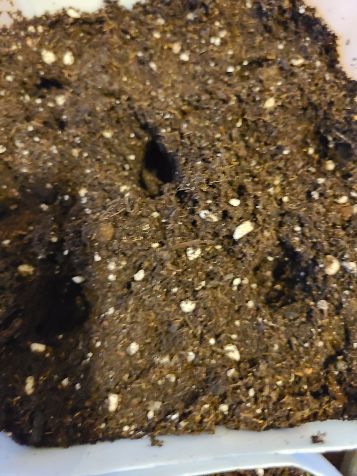
Use your finger or the handle of a wooden spoon to create small holes 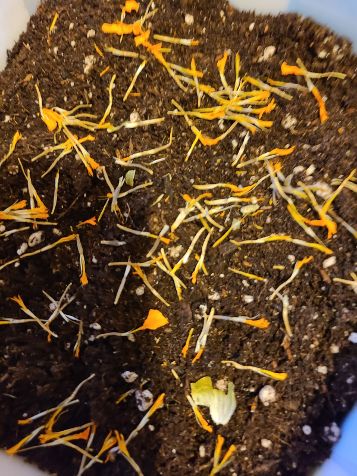
Marigold seeds are scattered across soil before getting lightly covered with more soil
Follow the directions on your seed packages for planting. If you aren’t given the depth for planting, plant at least twice as deep as the seeds are in diameter.
You can also sow a lot more seeds than you normally would with this method. Then you can separate the seedlings when it’s time to pot them up or into the garden.
Chamomile seeds germinate best with sunlight, so they’re spread on the surface of the soil and gently patted into the soil. The seeds are so tiny I couldn’t get a decent picture!
Label your plants

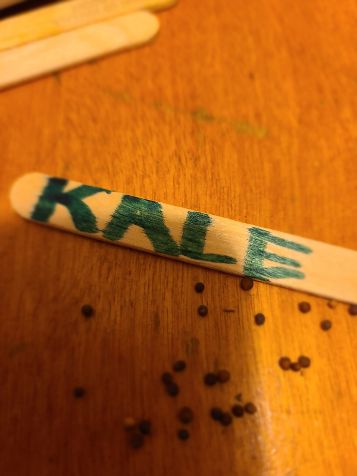
Popsicle sticks make great free plant markers 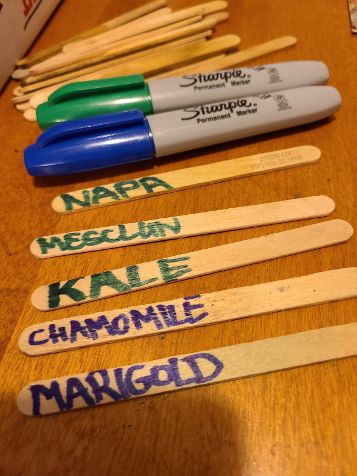
Even permanent marker fades out in the elements so I label containers at least twice
I’ll be honest, the most frustrating thing about winter sowing is losing track of what you planted in each jug! I always put a marker inside the jug and I’ve tried writing on the outside of the jug, both with permanent markers. But that labeling doesn’t always stand up to the elements. This year I’m labeling both ways and throwing in a color code, using blue for flowers and green for veggies. But what I think will work better this year, is that I plan to RE-label each jug before it’s too faded!
Here’s another idea I think I’ll try! I’m going to make a paper label then use clear shipping tape through the handle and covering the paper on both sides. I’ll let you know how it works!
Cover Your Container
Place the top on the bottom of the container 
Use duct tape to seal the top back onto the bottom of the container 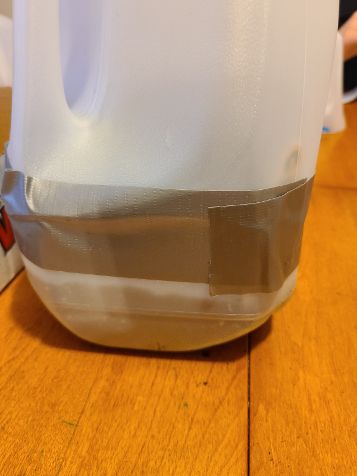
Overlap duct tape and rub edges to ensure it’s sealed
Now you are going to turn your containers into mini-greenhouses by attaching the tops again. I recommend using at least 2 shorter lengths of duct tape instead of one long piece. It’s just easier! After the duct tape is overlapped, rub the edges of the tape to be sure you have a good seal. If you’ve left the top hinged onto the bottom, you don’t need to tape over the hinge.
Set Them Outside in the Winter Weather
Ready to go Outside 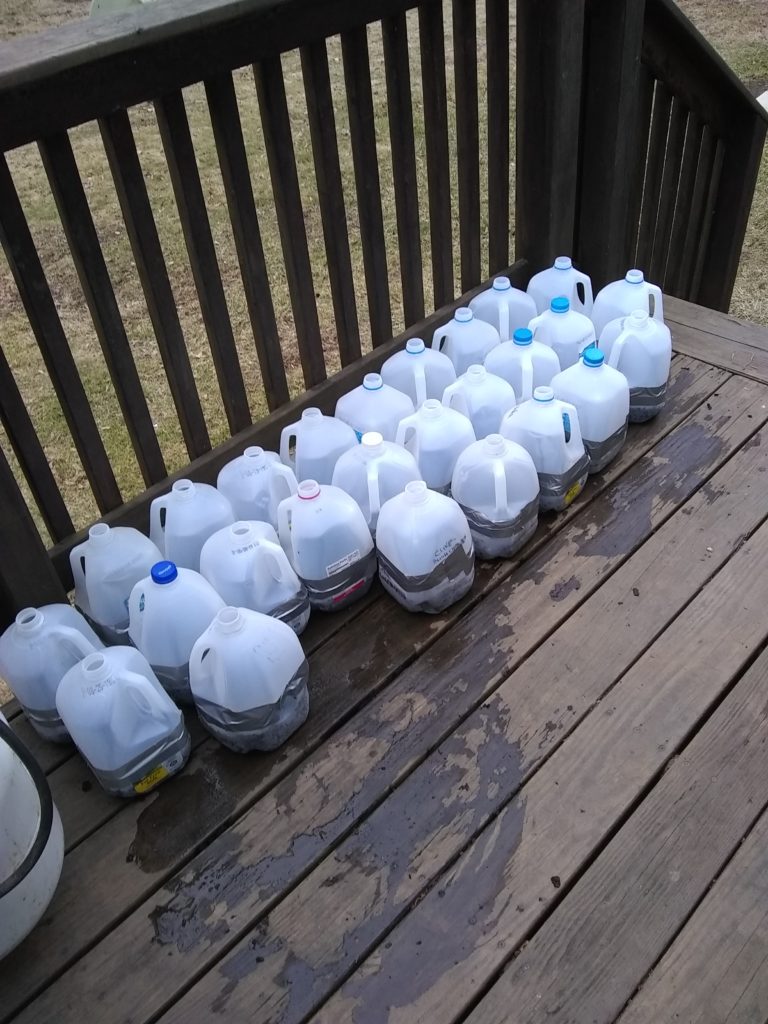
Winter Sown Gallon Jugs
Put all your winter sowing DIY mini-greenhouses outside. You can put them in your garden or leave them near the door so you can peak inside on snowy days. You can put the caps on the jugs until the seeds germinate or leave them off altogether. After germination, you’ll want to water regularly. As they grow larger and the weather warms, you may want to take the tops off to give the plants room and let them further acclimate to the temperature. I suggest planting into your garden when the seed packets say to plant out seedlings that were grown indoors.
Happy Winter Sowing!
Have you tried winter sowing? Please share your experience, good or bad!
Don’t miss the latest DIY project or money saving tips! Subscribe to my newsletter today!


Pingback: My Favorite Garden Seed Sources | My Frugal Nature