I’ve been interested in making cheese at home for many years. I had looked for classes in cheese making, pre-pandemic, but didn’t find anything local.
This post contains affiliate links from which I can earn a commision, at no cost to you. Visit my full disclosure page here.
My introduction to home cheese making began when I picked up this book, One-Hour Cheese by Claudia Lucero. I think it was at a free book swap or our library’s book sale. I found it in stock at Bookshop.org which markets for small bookstore owners.
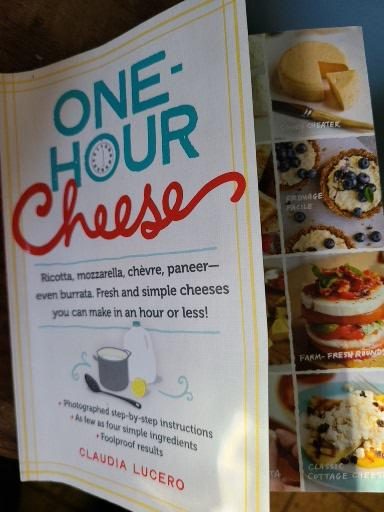

I only read a couple pages when the author said to stop reading and try making a simple cheese. Normally, I’d keep reading past that suggestion and possibly never return. I’m glad I stopped this time.
Is it really possible to make cheese in under an hour and have it taste good?! I decided to find out.
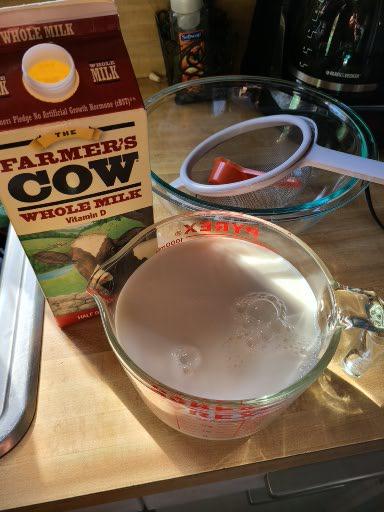
I picked up a half gallon of organic whole milk to use. Then I got busy with other things. The milk didn’t go to waste. Not that expensive organic milk! I just used it for other things.

In the meantime, I read another chapter in the book, I learned that it’s best to avoid ultrapasturized milk that’s heated to a higher temperature than is used for regular pasturization. This more processed milk doesn’t have the good bacteria or the stronger calcium and proteins of regular pasturized milk. So it doesn’t create a good cheese.
Claudia Lucero’s First Timer’s Cheese recipe says to use any milk, but to be safe, I decided to use regular pasturized rather than ultra. I found it at Trader Joe’s.
Introduction to Home Cheese Making
I gathered all my ingredients and tools and set the stopwatch on my phone.
How long does it take to bring 4 cups of milk to the brink of a boil at medium heat? It took ours about 22 minutes of constant stirring. (Stoves vary and so may your exxerience.) I’m so glad my daughter and I could switch off. When I make cream sauces or cheese sauces, I’m not quite so vigilant as I was with this cheese. I usually stir occasionally for the first several minutes and then switch to constant stirring. I think that would work fine for this cheese too.
We did a lot of second guessing before deciding the milk was ready. Now I know what to look for. I found really good photographs in later chapters of the book that would have been helpful to see beforehand.
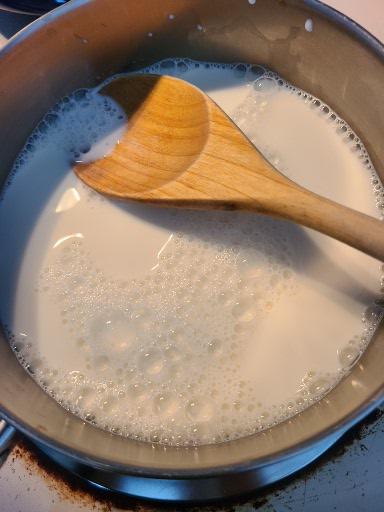
Bubbles from pouring milk, not boiling 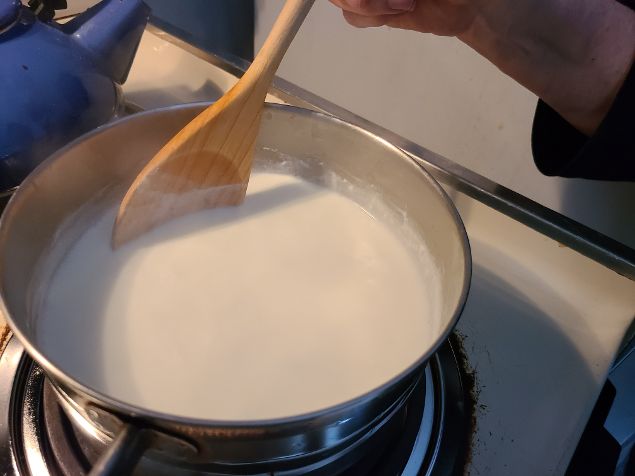
Foamy edges around milk 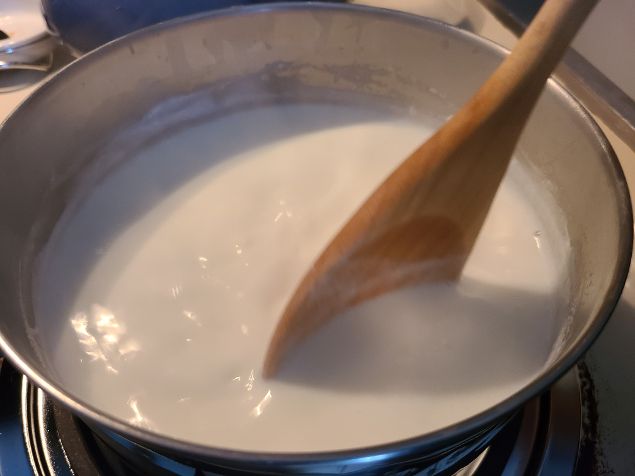
Barely bubbling milk
Bringing the milk almost to a boil is the most time consuming part of the process. I suggest putting on some good music or a you tube video if you think you’ll get bored. (I did.)
Adding the vinegar produced results very quickly! I used about 3/4 of the vinegar we measured, adding it gradually. When the milk starts to separate into curds and whey as it coagulates, it’s pretty exciting!
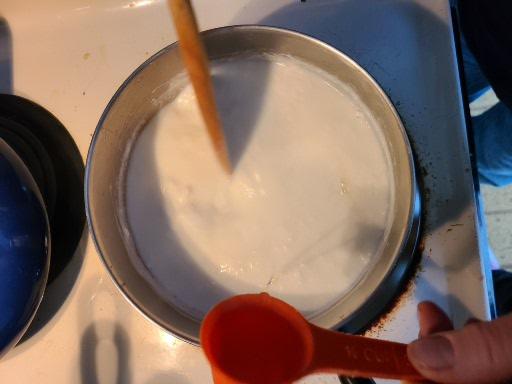
Add acid (apple cider vinegar or lemon juice) gradually 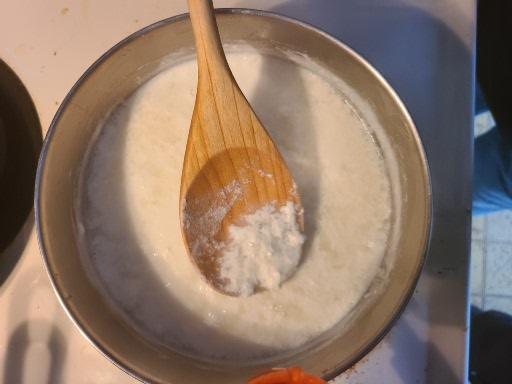
First signs vinegar is causing coagulation 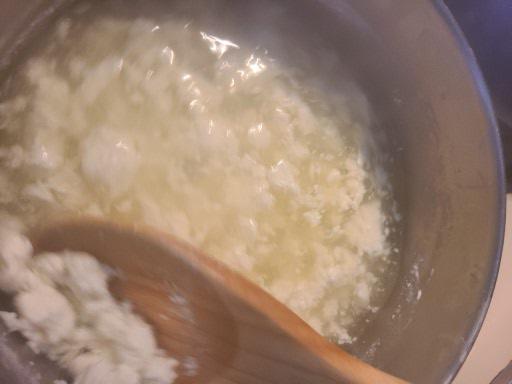
Coagulation separates curds from whey
Cooking the curds and whey for an additional two minutes over low heat produced large curds and almost clear whey.
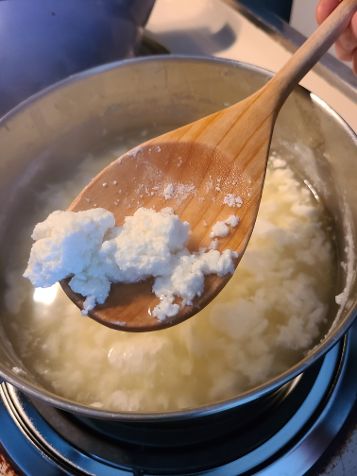
Large curds of cheese!
Harvesting the Curds and Whey
The recipe called for spooning all the curds up with a slotted spoon or mesh strainer. It’s a laborious process and I didn’t want to miss any of the curds. I decided to pour all the curds and whey through the strainer. Then I used the spoon to press down on the cheese releasing more whey. I realized in time that if I kept doing that I would probably be making a different kind of cheese, so I stopped!

Scooping up curds with slotted spoon 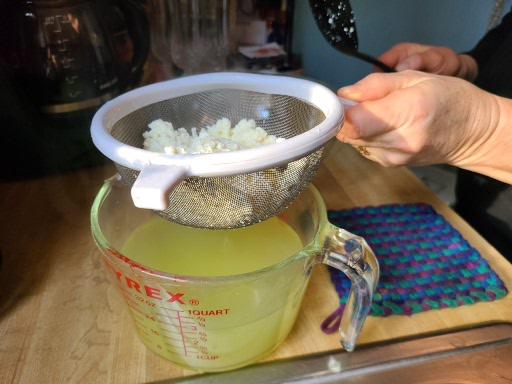
Alternatively, pour all curds and whey gently through a mesh strainer into a container 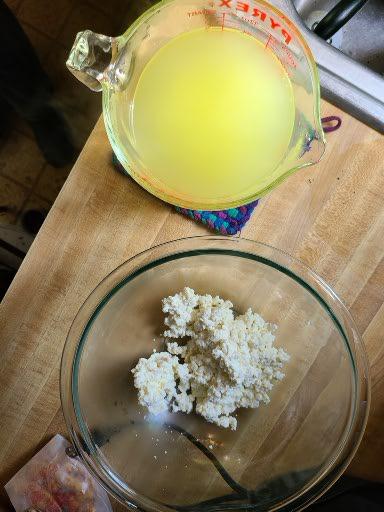
White curds and yellow whey
After I put the curds into a bowl, I added sea salt, fresh ground pepper and fresh parsley I had frozen in the fall.
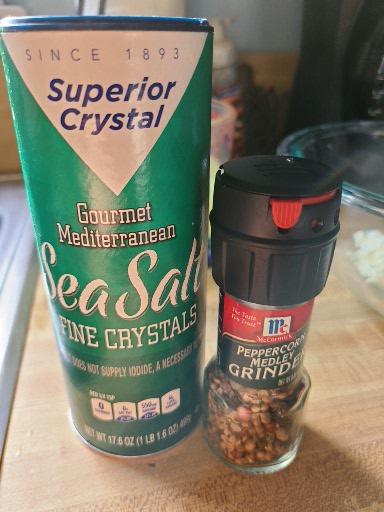
Salt and Pepper 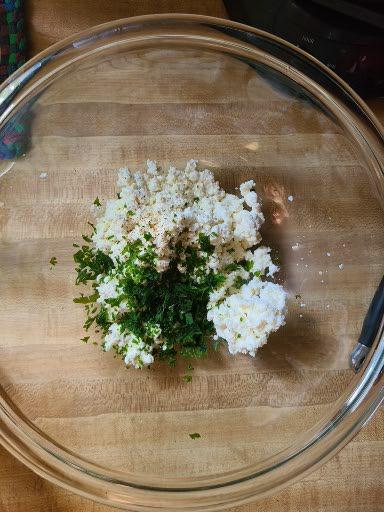
Cheese curds with parsley 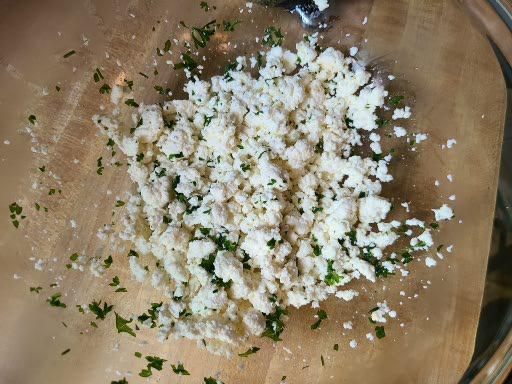
Seasoned fresh cheese
Total elapsed time? 36 minutes. Not bad at all!
Taste Test 1
The fresh cheese we made was very mild. We upped the salt and pepper. The texture was soft and slightly granular, not smooth and creamy. It reminded me of feta in texture, but not flavor. The freshness of it came through beautifully. Andie and I were extremely happy with our creation. My husband reacted to a taste by making a face, but that’s typical for anything he expects to “taste” healthy!
Some other healthy dishes we’ve made include Easy Creamy Pumpkin Hummus, Asian Snow Pea Pasta Salad, and Cilantro Pesto.
Taste Test 2
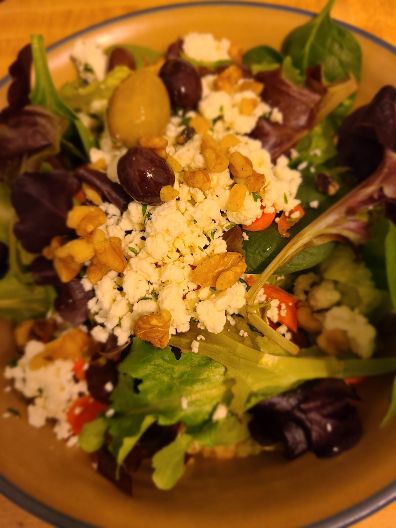
Salad with fresh cheese, olives and walnuts 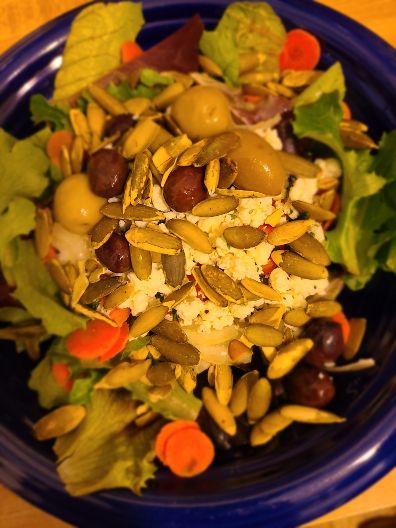
Salad with fresh cheese, pepitas and olives
We were having salad for dinner and I knew I wanted that cheese on my salad! After adding the greens, carrot and a bit of raw onion, I added around 1/3 cup of cheese. Then I was inspired to add some really good olives. (Andie studied in Spain and developed a love of olives, so I splurged on these for New Year’s Eve!)
Pepitas for Andie, walnuts for me, and my latest homemade salad dressing concoction for both of us.
The results were wonderful! The cheese tasted super fresh and blended perfectly with the other ingredients. I’m already thinking of more ways to use it!

Taste Test 3
If I had followed the recipe more closely and only used a spoon to lift the curds out, I think the cheese would have had more liquid in it. That made me think of cottage cheese, and how it’s often paired with fruit.
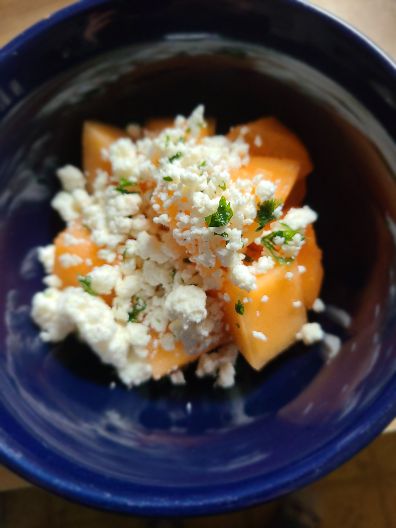
I considered adding honey and nuts. I think that would be declicious.
Instead, we simply added the cheese on top of cantaloupe for breakfast. (Great sale on melon last week!)
The flavors paired beautifully, as did the textures. And I can’t wait to try another recipe from this book. I’ll also be exploring the author’s website, Urban Cheesecraft for more ideas!
Claudia Lucero's First-Timer's Cheese
Fresh, farmer's style cheese in 36 minutes!
Ingredients
- 4 c. milk (lower fat milk yields less cheese)
- 2 T. apple cider vinegar, white wine vinegar, lemon or lime juice
- 1/8 t. salt
- Fresh ground pepper and/or fresh or dried herbs
Instructions
- Pour milk into 2 quart saucepan.
- Heat on medium, stirring regularly until foam appears around the edge of the pan and bubbles just start to emerge.
- Add vinegar or juice gradually, stirring. When you see the first signs of the curds and whey separating, add no more vinegar/juice.
- Turn heat to low and continue stirring gently for 2 minutes.
- Remove white curds from yellow whey with a slotted spoon or gently pour through mesh strainer into bowl or container.
- Gently transfer curds to a bowl and season with salt, and pepper or herbs as desired.
- Serve on salad, with fruit, on crusty bread, or with fruit and a drizzle of honey.
Notes
I love what Claudia Lucero says at the end of this recipe!
"Voila! YOU MADE CHEESE! To be specific, you made a directly acidified farmer-style cheese."
"And did you time yourself? Well under an hour. (I told you!) Congratulations - this is just the beginning."
Nutrition Information:
Yield:
6Serving Size:
1/4 c.Amount Per Serving: Calories: 92Total Fat: 3gSaturated Fat: 2gTrans Fat: 0gUnsaturated Fat: 1gCholesterol: 13mgSodium: 132mgCarbohydrates: 10gFiber: 1gSugar: 0gProtein: 6g
Accuracy not guaranteed.
What about all that whey?
Food waste is a huge problem in our country. According to the Food and Drug Administration’s website, between 30 and 40 percent of food is wasted! I wanted to make sure that this whey did not go to waste.

I’ve read that chickens love it. Mine seemed to like it just fine, but they dumped the bowl. Two days in a row!
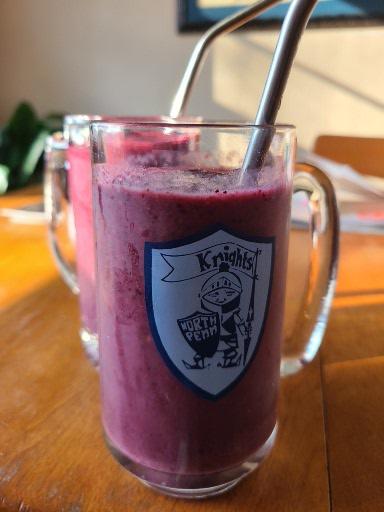
My daughter makes a mean smoothie and was happy to use whey instead of yogurt. It was delicious!
There are many online resources with ideas of how to use whey. Here are just a few.
- Since this whey is acidified by the vinegar, it’s a great garden addition for acid-loving hydrangeas and blueberries.
- You can use whey as a skin toner or hair conditioner.
- Add protein to soups, stews or when soaking dried beans.
I plan to freeze the rest to put in soup.
Are you ready to try making cheese at home?
If you like DIY projects, saving money and living sustainably, be sure to subscribe to my weekly newsletter here!


That’s awesome. I can’t wait to try it!
The book has more than a dozen recipes. I’ll share when I try others. Let me know what you do!!