
“Before” 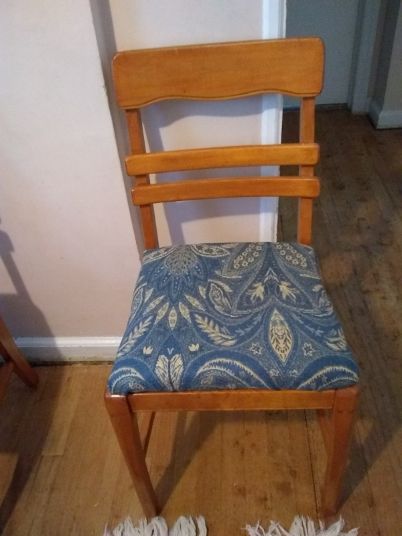
“After!”
My sister in law passed these chairs and the matching table to us when our kids were just toddlers. They’ve served us well. Still, there was no denying they were not coming clean anymore after spills. The wood is still in good shape and I certainly didn’t want to spend money on new chairs or support a corporate furniture chain. So I decided to do this easy DIY chair reupholstering.
This post contains affiliate links. If you click through a link I may get a small commision at no expense to you. Read my disclosure policy here.
Maintaining and fixing your belongings saves so much money and keeps them out of landfills. That’s a win for your budget and for the planet!
I actually started this easy DIY chair reupholstering process during the winter while my daughter was home from college. She’s a great motivator! But after she returned to school and I got baby chicks, this project had gone on the back burner. But my motivator has returned, and I’m happy to say this project was MUCH easier than I thought!
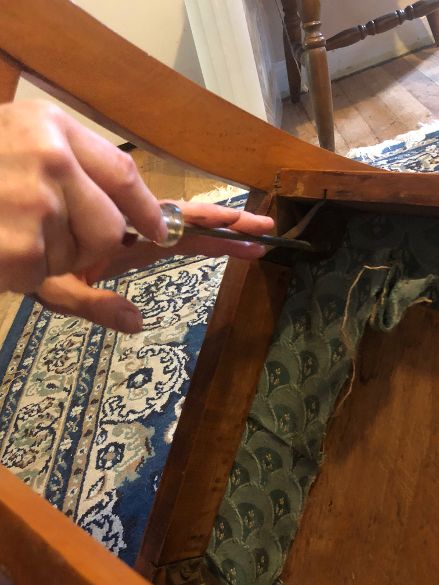
Are your dining room chairs in need of a face lift? First, you need to see if your chairs are put together in a way that allows easy DIY chair reupholstering. Turn the chair over; if the seat can be removed by simply unscrewing it, you’re good to go!!
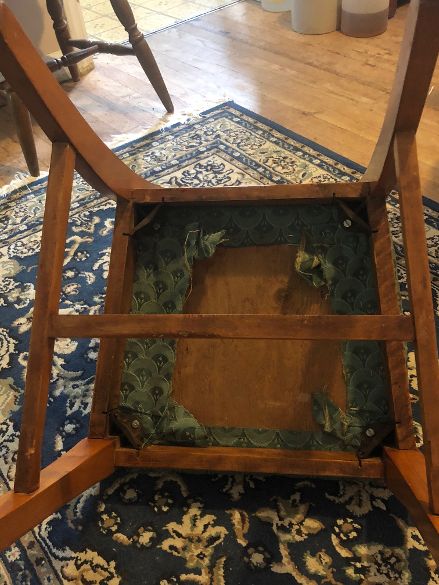
Turn chair over to see if the seat is attached with screws. 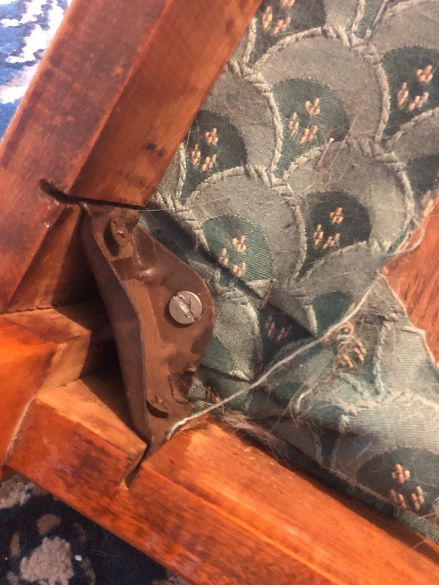
Screw visible under seat
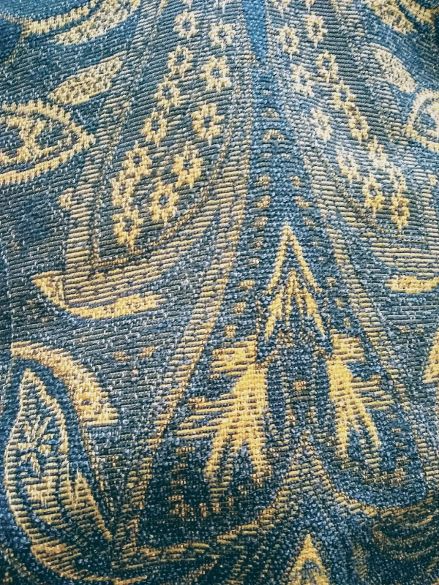
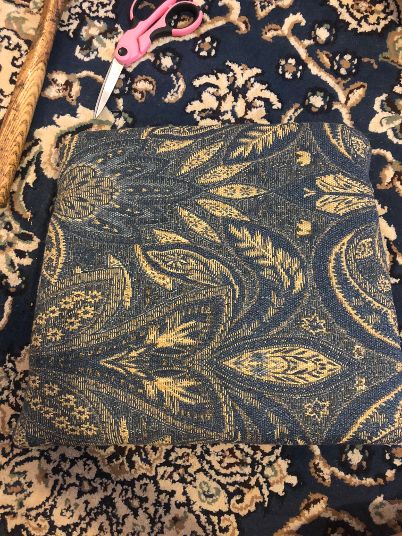
Fabric
I found this beautiful fabric at a free swap! I had just enough fabric to reupholster our 4 dining room chairs. Plus, there’s enough left that I will be able to make some matching pillows!
If you don’t have fabric already, think about getting second hand fabric at a yard sale or thrift shop, as they open up again. My daughter shopped at a thrift store today and saw curtains that would make nice seat covers.
There’s an excellent list of green fabric choices I found on pinterest. Here’s the link!
How to Do Easy DIY Chair Reupholstering
Remove the screws from under the chair and remove the seat. Turn the seat upside down and remove the staples that hold the old fabric. This is best accomplished with a flat head screwdriver and a vise grip. Wiggle the screwdriver tip under the staple and push the handle down to lift the staple up. Sometimes you can get the staple out immediately. More often, you’ll need to use the vise grip to grab the staple and pull it out. This works well for broken staples too.
Unscrew the screws to remove the seat. 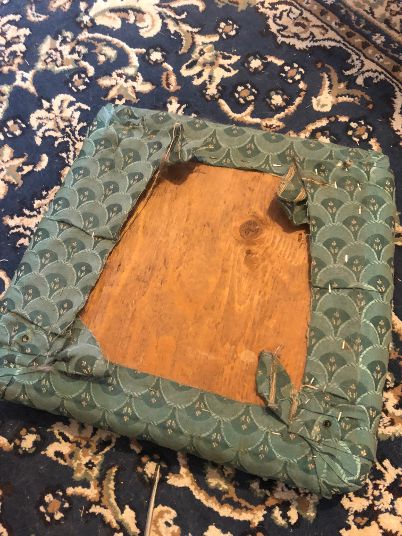
Chair seat removed from chair. 
Staples are visible (along with cat hair since we were working on the floor!) 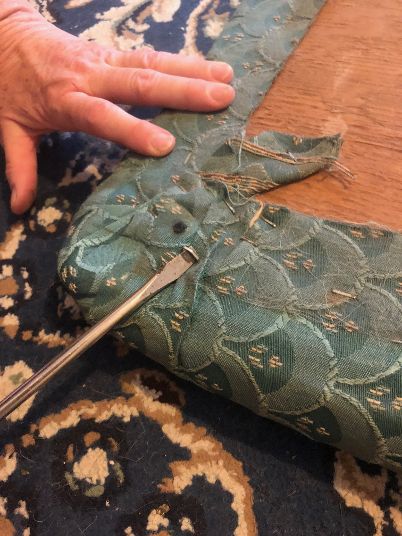
Lift the staples with a flat head screwdriver. 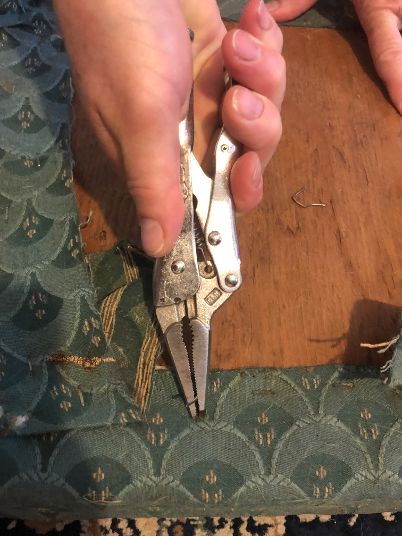
Use vise grip to pull out stubborn staples. 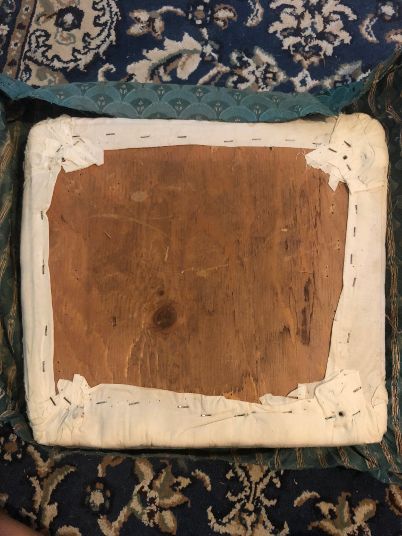
You may have a second layer of staples to remove!
Our chairs had two layers of fabric so it took about 10 minutes to remove all the staples from one chair. I recommend you keep count of the staples as you pull them out so you can be sure to dispose of them all and not find one with your bare feet one day!
After removing all the fabric and cushioning, decide what, if anything, you can salvage for another use. We washed the old fabric, but since the stains didn’t all come out (I should have used my DIY Laundry PreTreat!) we put it in cloth recycling. What I call “cloth recycling bins” may be marked for donations, but also state that unusable donations will be used for industrial rags or other uses.
Cushions
The only place I was able to find cushions was Walmart. A better option might have been paying a bit more for extra thick cushions from a fabric store or online.
Decide whether you want to use one or two cushions per chair. We opted for two cushions per chair since we like a softer seat, and especially because my husband is spending so many hours on these chairs as he works from home during COVID-19.
Trace the shape of your seat onto the cushions and cut the cushions to size.
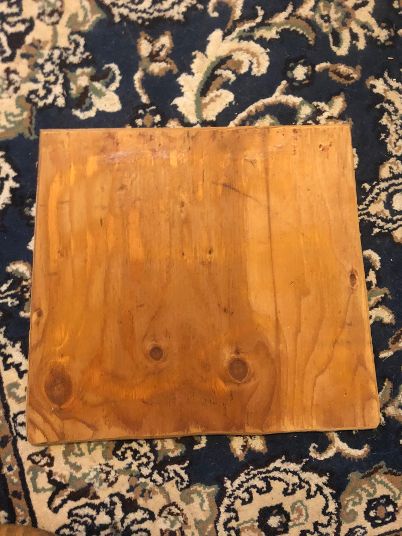
Wooden chair seat ready for new clothes! 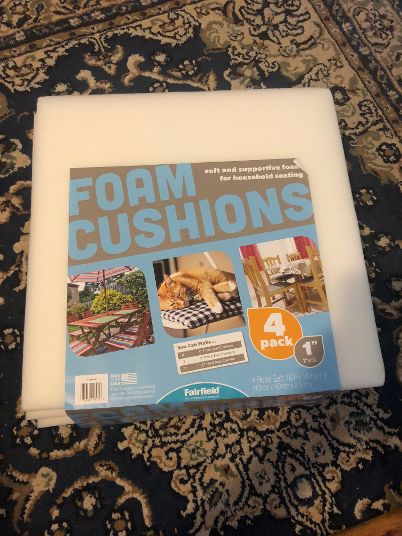
I used 2 cushions per chair so needed 2 of these 4 packs. 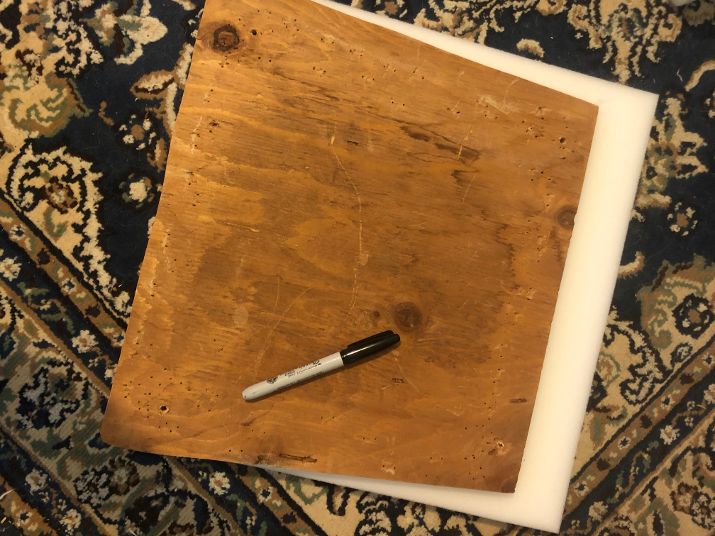
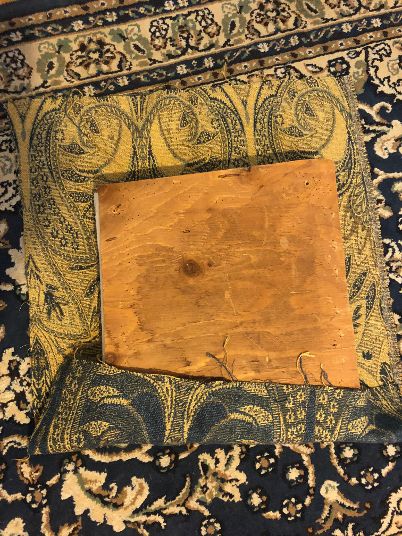
Lay cushion down and place seat on top to trace for size and shape. 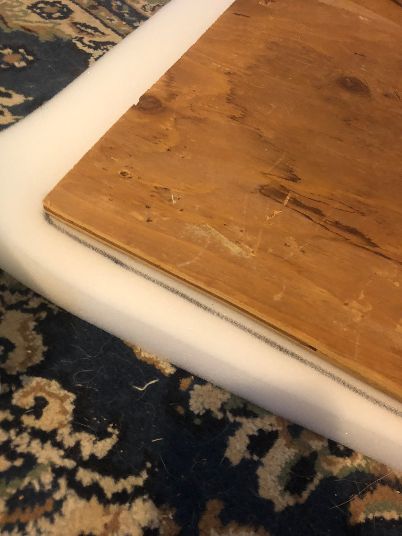
Marker works well on cushions. 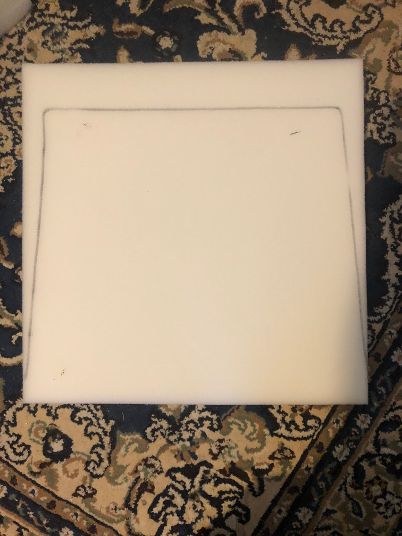
Cushion marked for cutting. 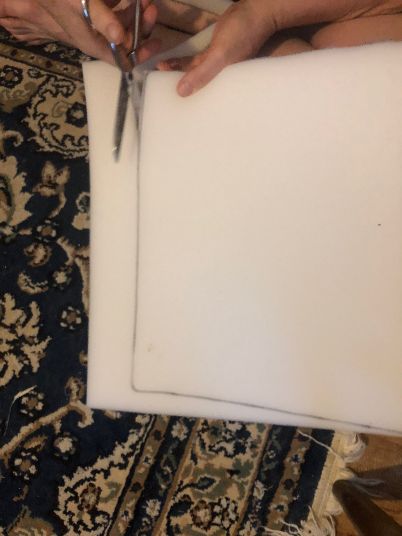
Cut cushions to fit.
Putting it all together
Depending on your fabric, you may want to carefully select how you want it centered on the chair. Because I had limited fabric and also because I like an eclectic look, I was happy with four unique chairs.
More DIY ideas! How to Compost, DIY Fire Pit, and Protecting the Garden from Insect Damage with a DIY mesh bed cover.
You can also add a layer of quilt batting before you use the upholstery fabric. Our fabric is pretty thick and staples will only go through so many layers of material, so I skipped the batting.
You will need enough fabric to cover the seat and cushions plus have an extra inch or two on each side. You can trim any excess so your fabric doesn’t bunch up when you attach it. Be careful with trimming excess fabric at the corners; you don’t want to come up short.
Lay fabric facing downward and place cushion and seat on top. Fold up sidesto be sure your fabric is the right size. 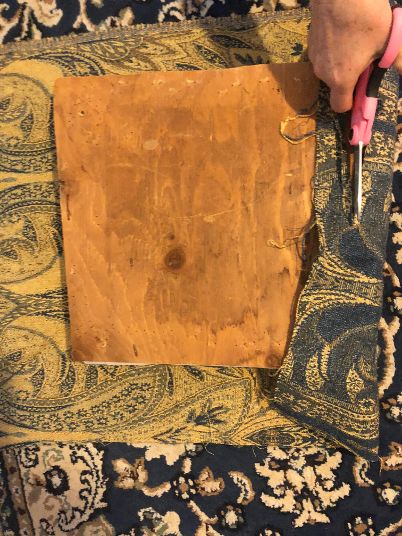
Trim excess material. 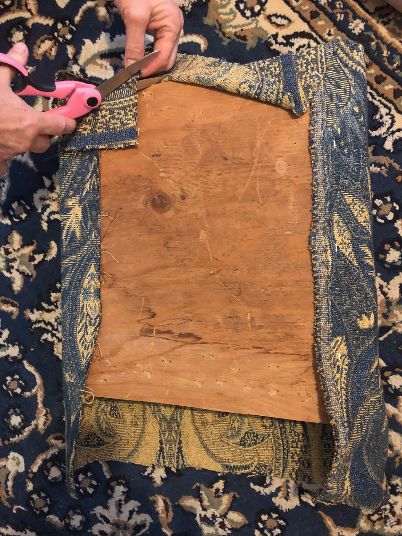
Trim excess fabric at corners. 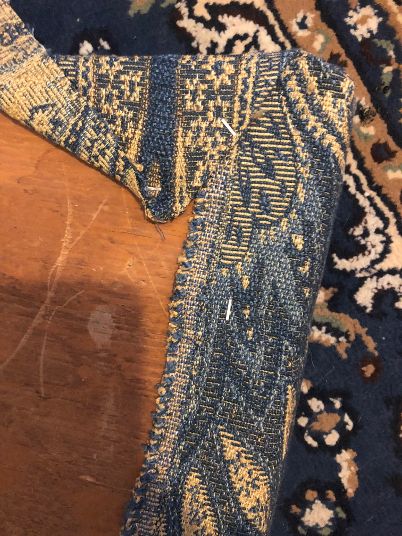
Staple fabric along sides before stapling corners. 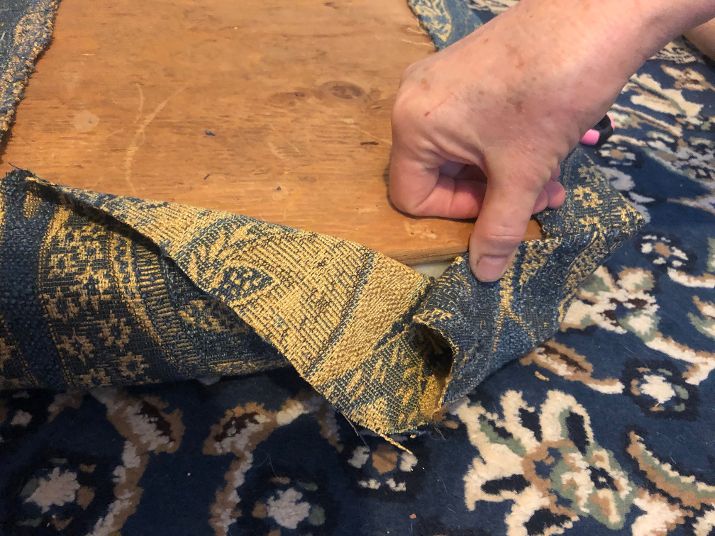
With stapled side fabric tucked in, fold fabricso its just over the edge of the seat. 
Then pull fabric from new side over edge of seat.
It’s helpful to staple one side first, leaving room near the corner for folding. I used a heavy duty staple gun from Arrow that we’ve had for years as well as their 3/8″ staples.
The staple gun works best when you have the entire gun on the hard surface of the chair seat. So you should staple the side that’s away from you. If just the stapling tip is on the board, it’s more likely to slip and less likely to go deep enough. You may still have staples that are raised. If so, be sure to hammer them into place.

Avoid putting staples at the screw holes in the four corners, since that could interfere with putting the chair back together.
Folding the corners is the trickiest part of the process. I’ll admit, I was kind of winging that part, folding the fabric more like wrapping paper. I liked the result, but you can also try a butterfly fold on the corners by first bringing up the center, then each of the sides before stapling.
If you want your chair to look professionally finished, you can add a dust cover of plain material over the bare wood and fabric. Staple in place avoiding the area where you’ll screw the chair back together.
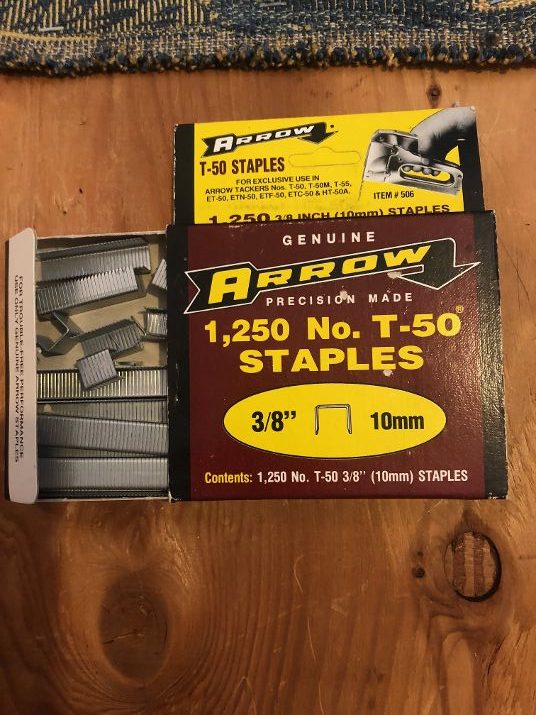
We used 3/8″ staples. 
To staple fabric position stapler so it rests fully on the seat. Use two hands and squeeze. 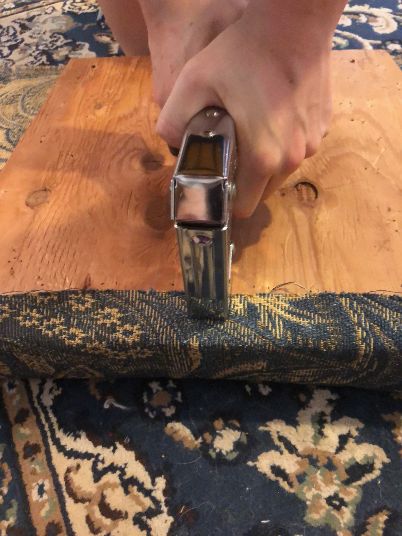
Always use two hands when stapling. 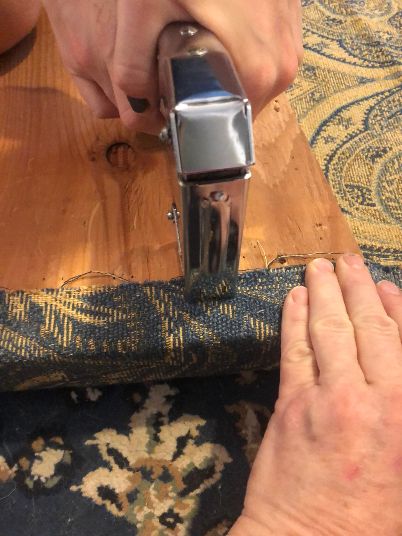
Keep fabric taut while stapling. You may need an extra hand or you could try a clamp. 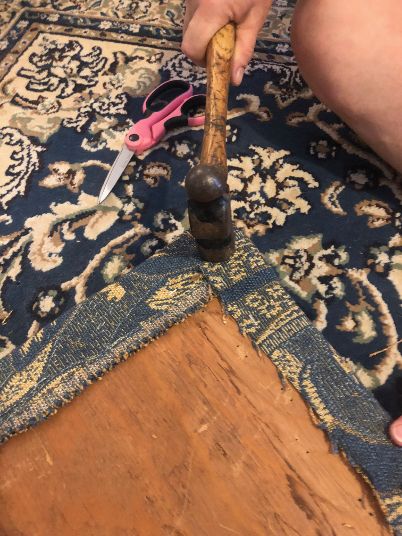
If staple aren’t flush with the seat, hammer them in! With stapled side fabric tucked in, fold fabricso its just over the edge of the seat. 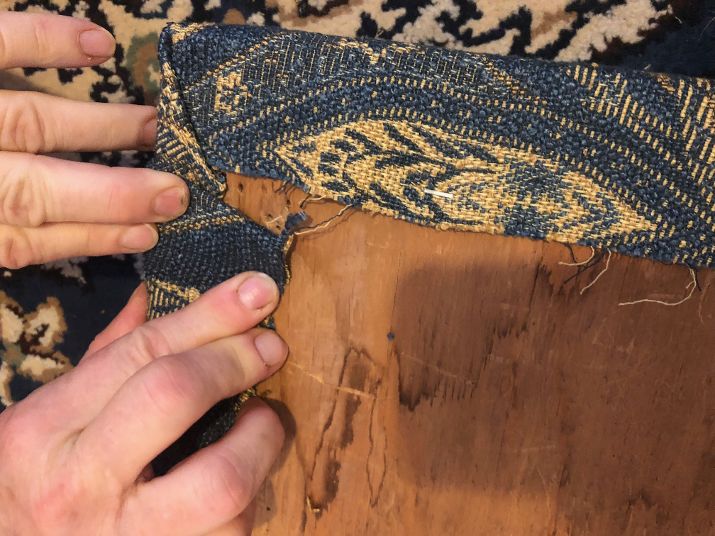
Don’t skimp on corner staples. 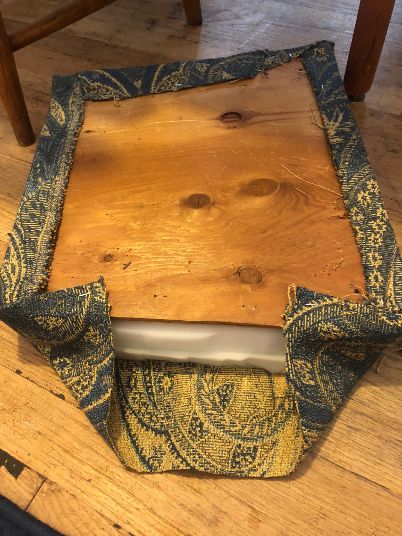
On the last side, staple the first folds on each corner. Then pull side material up to staple. Then pull fabric from new side over edge of seat. 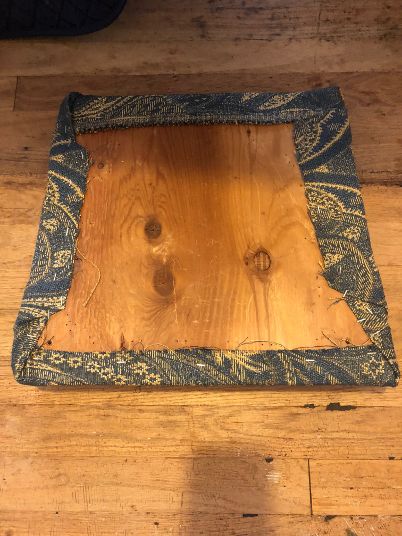
A finished seat.
After you’ve fully affixed your new fabric to the seat and cushion, it’s time to put the chair back together! Since my daughter was working with me, we simply turned over the chair and one of us held the seat in place while the other person put the screws back in. If you don’t have an extra hand, you could try putting the seat and overturned chair on a table and let gravity help you hold the seat in place.
You may find the screw is going through fabric instead of straight into the wooden seat. That’s fine! Initially I was concerned about not being able to see where the screws go into the seat, but the hardware on the chair will guide you to just the right spot.
Another finished cushion 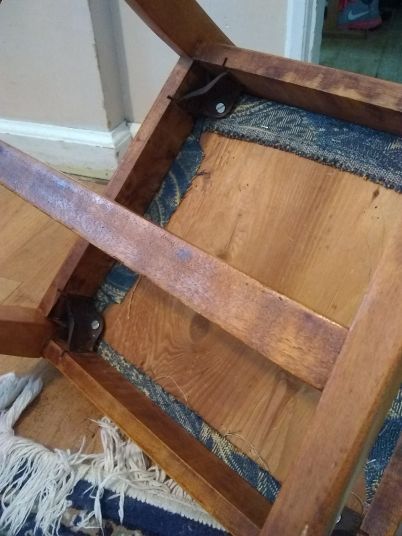
Finally, screw the newly recovered seat back in place. You may have to screw through the fabric, but should be able to feel screw hole. 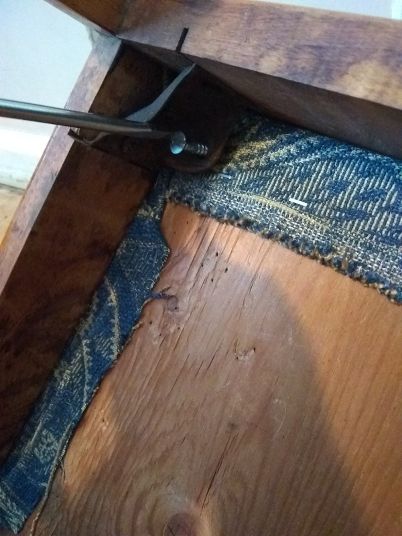
Closer view of screwing seat back on the chair. 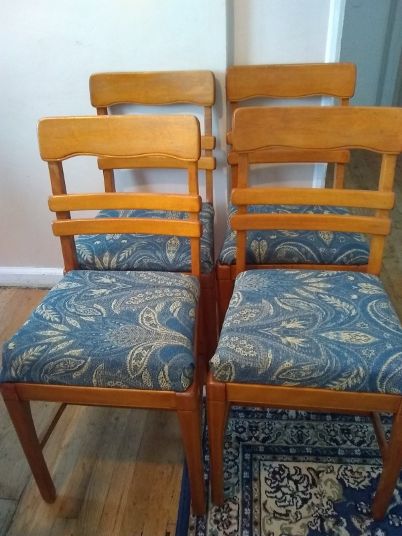
Four reupholstered chairs.
I just love my new chairs! I didn’t know how easy DIY chair reupholstering could be! Now I need to help my husband move his home office off the dining room table so we can use the new chairs at the table (because it looks like he’ll be working from home for the rest of the year!)!
Have you ever reupholstered or refinished furniture? I’d love to hear about your favorite projects!
For more DIY ideas and money saving tips, sign up for my weekly newsletter!
Reupholstering our dining room chairs has been on my to-do list for a while now. I guess there’s no excuse now that I have excellent instructions!
I hope that gives you motivation! It’s a great project for bad weather!
I reupholstered similar chairs years ago and I agree it is easy to do. More people should try it!
I agree Lynn!